Mechanical Properties
It’s all good…
as long as dogbone and notched specimens fracture when and at the point they’re supposed to; the properties of cast iron materials are expected to conform to certain standards. In fact, for gray iron, known to be relatively brittle, the ultimate tensile strength (for a defined wall thickness) in conjunction with the flake/lamellar structure is the only standardized value assigned to it. For SG cast iron and ADI (both ductile cast irons), standardized strain values are required in addition to the presence of spheroidal graphite in the matrix; some types also have requirements for the impact toughness.
The high-temperature and partially chemically resistant materials SiMo and Ni-Resist are considered differently. These materials are chosen specifically in terms of their chemical composition in relation to the given application, and the standard then states the required mechanical properties for each defined alloy. However, to decide between D2 and D5, for example, the (dynamic) thermal stability of both materials is definitive – not the typical factors of tensile strength, strain, or toughness. Standardized testing procedures are available to determine each of the mechanical properties mentioned above; the most important of these are described below.

Standardized testing procedures described in DIN EN ISO

The tensile test
DIN EN ISO 6892-1
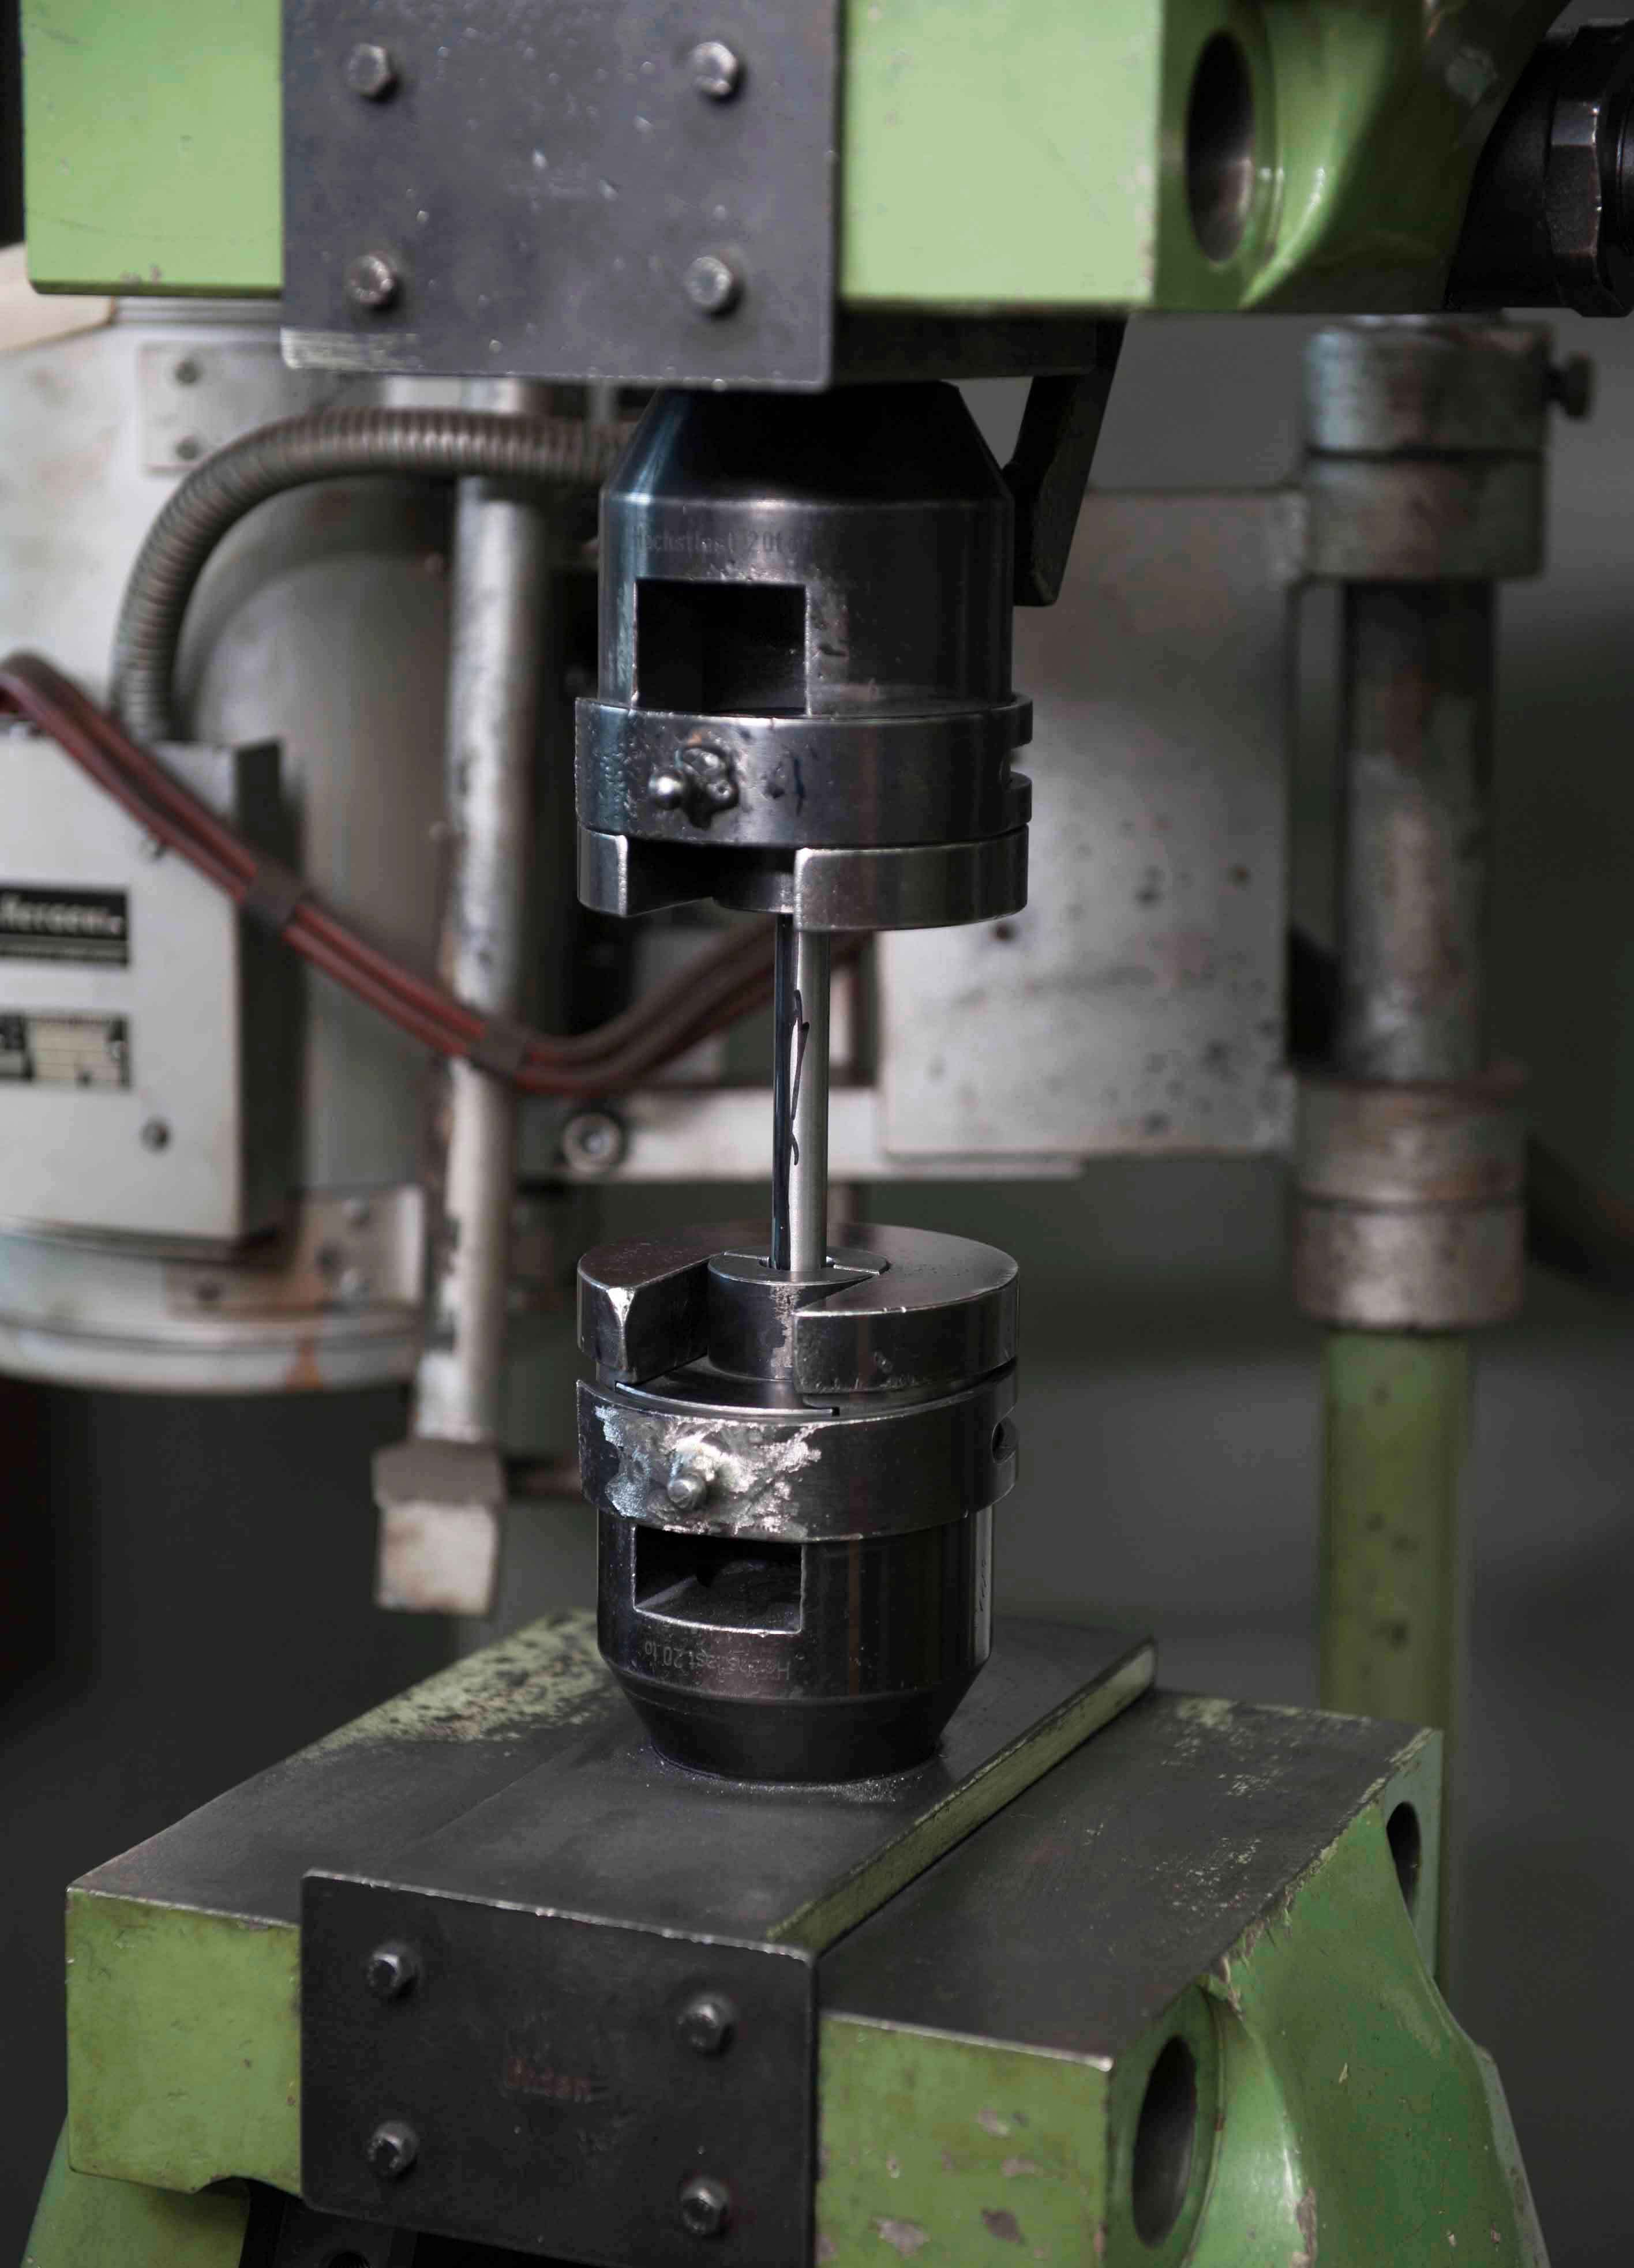
The tensile test (described in DIN EN ISO 6892-1) is the most important and most frequently used mechanical test. Mechanical property values are determined at a constant temperature (typically room temperature) under uniaxial load. To do so, a smooth, notch-free specimen is clamped into a universal testing machine and strained along the vertical axis (i.e., the ends are pulled away from each other) at low speed until the specimen breaks.
The machine continually registers the pulling force F and the elongation of the specimen ΔL. By relating the force to changes in the cross-sectional area and the length of the specimen, the computer then generates the stress-strain curve for the given material; this curve includes information about the yield point, the ultimate tensile strength, and the fracture strain. The tensile test is categorized as being a quasi-static, destructive test.
The notched impact test
DIN EN ISO 148
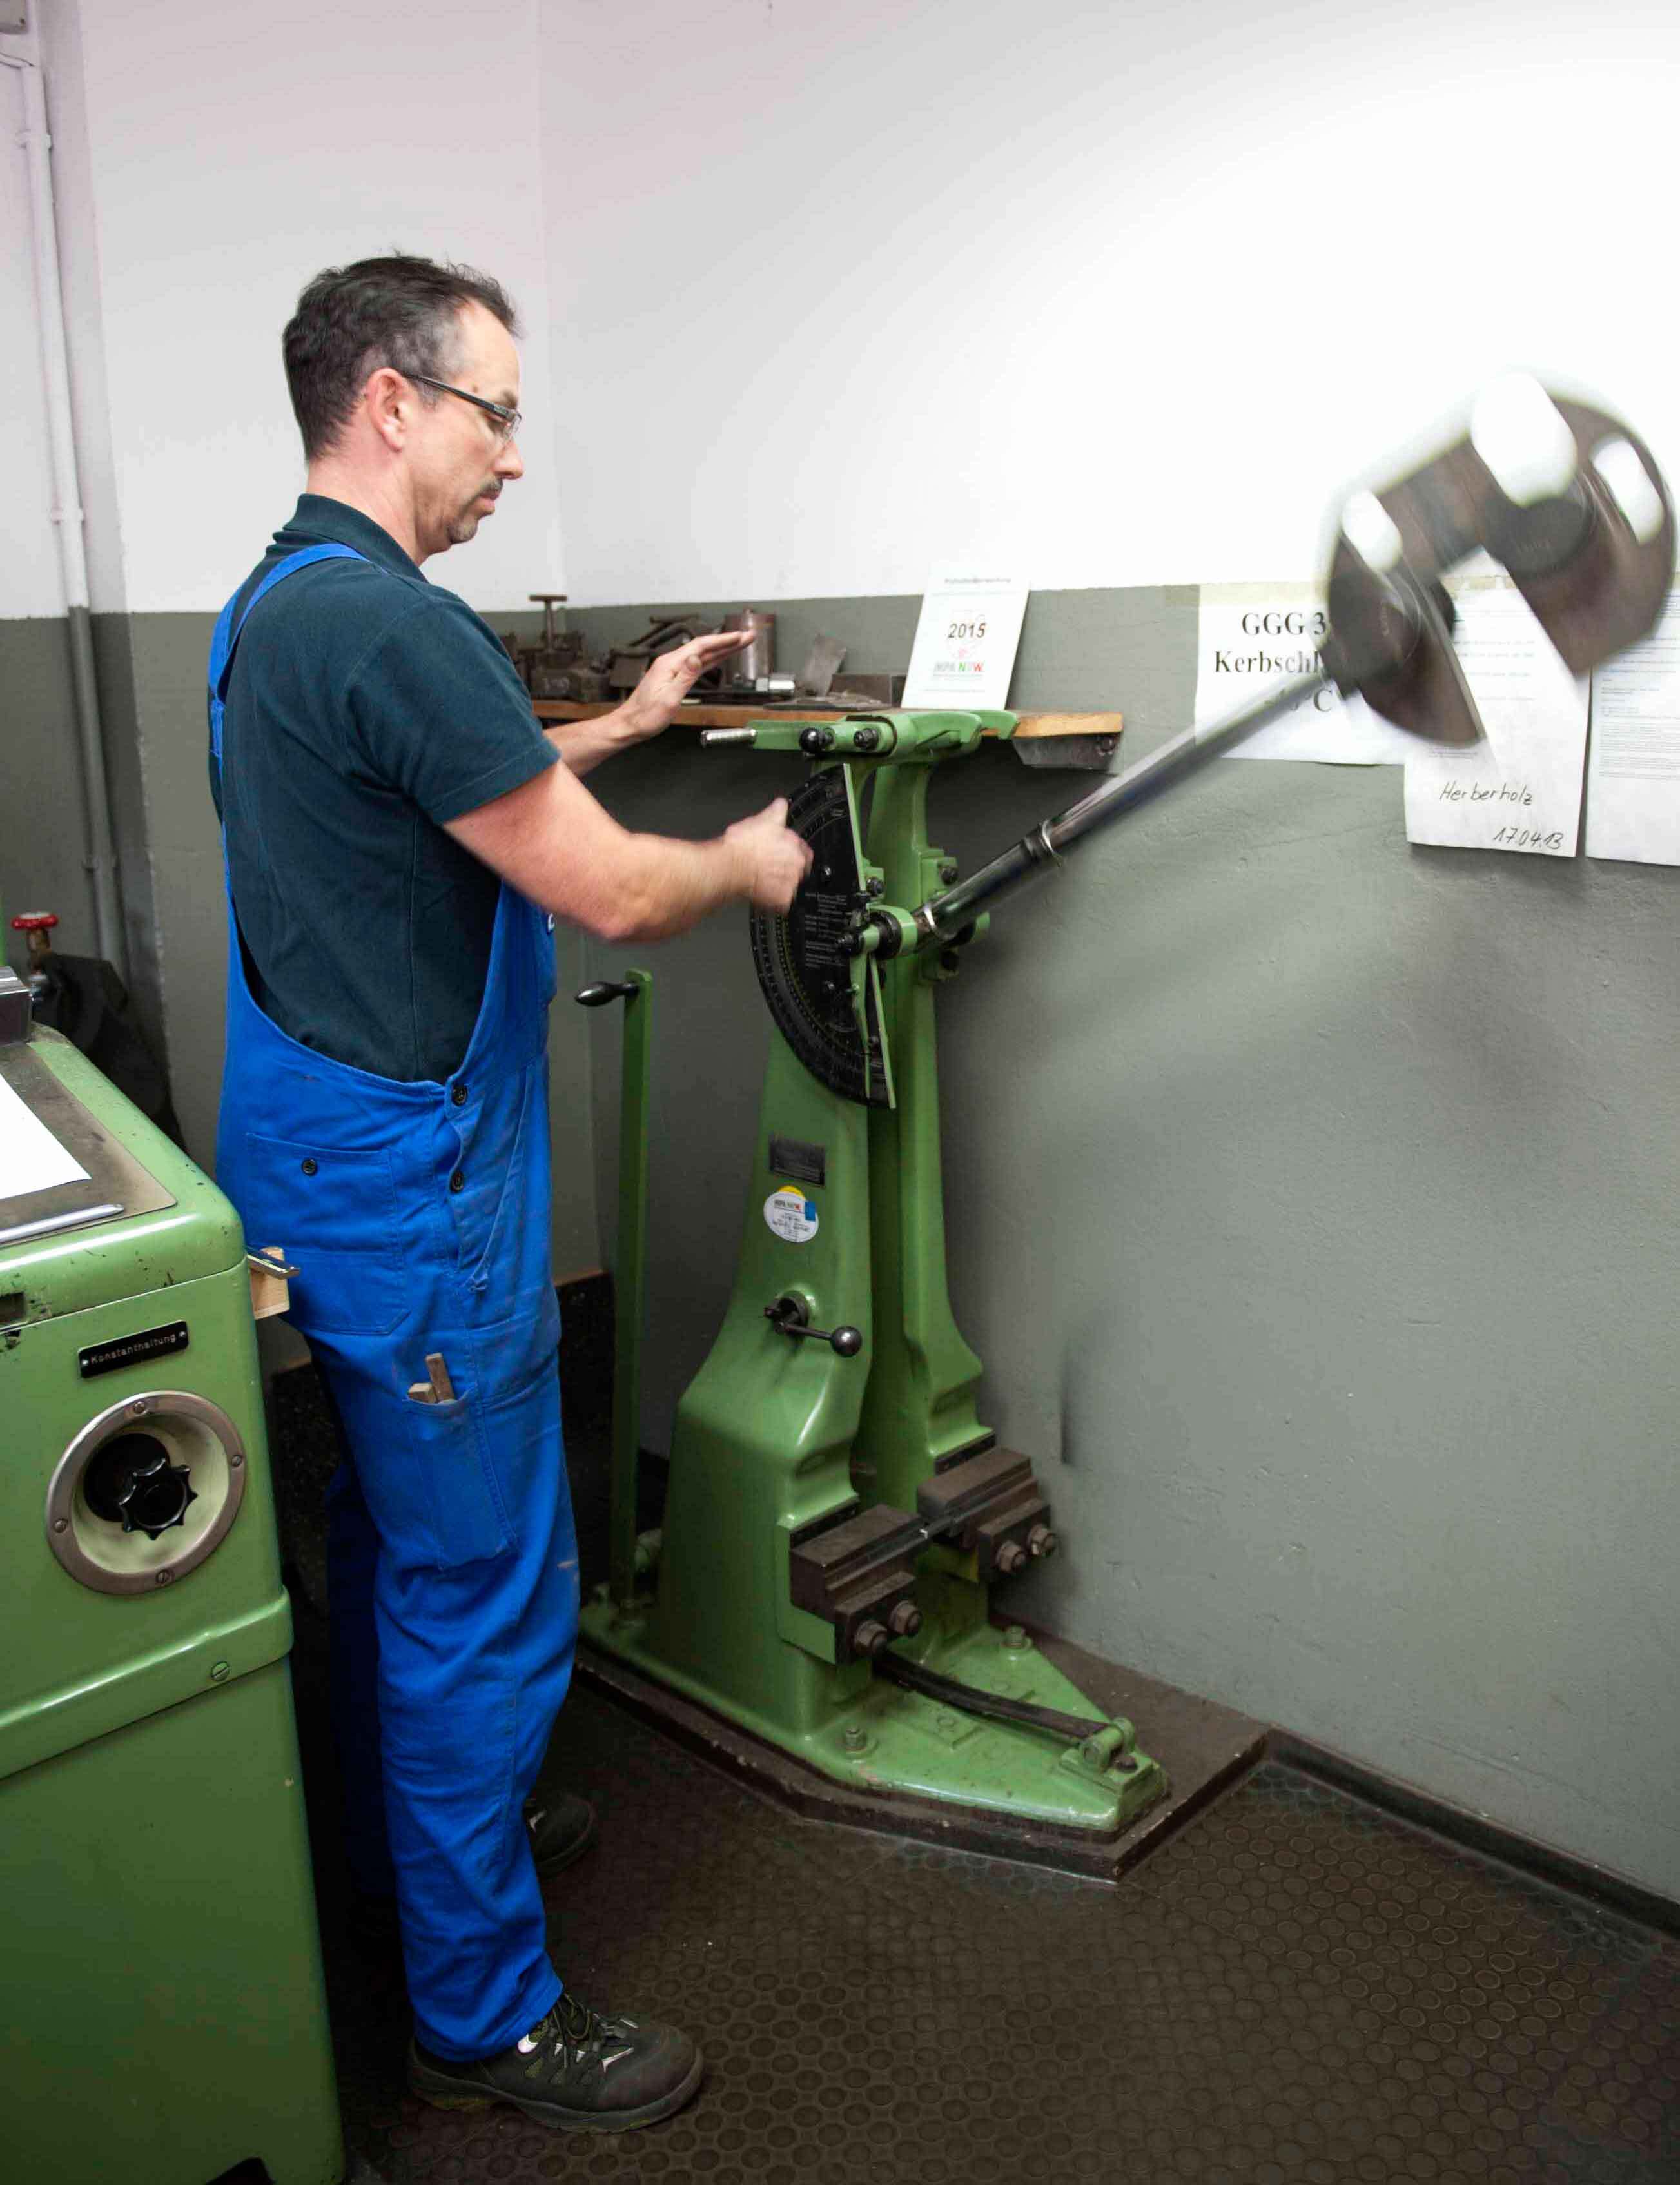
Although Charpy’s impact testing procedure was introduced over 100 years ago, his method for determining the impact strength/toughness of a material still ranks as one of the most widely-used industrial tests. The notched impact test according to Charpy is standardized according to the German DIN EN ISO 148 standard and is used to evaluate the toughness of metallic materials by sudden impact/shock. The test is carried out using a notched specimen with previously defined dimensions; the specimen is then placed in an impact testing machine with a pendulum hammer.
The amount of energy needed to break the specimen is determined by the height of the pendulum’s swing after impact. Gravity is used as the driving impact force, making the difference before and after impact easy to calculate; the difference between the pendulum’s initial height/initial angle and its highest point after impact is recorded; the difference between the two is then calculated as a loss of energy, which is assumed to have been absorbed by the specimen when breaking. This energy is taken as a measure of the material’s toughness.


The Brinell hardness test
DIN EN ISO 6506
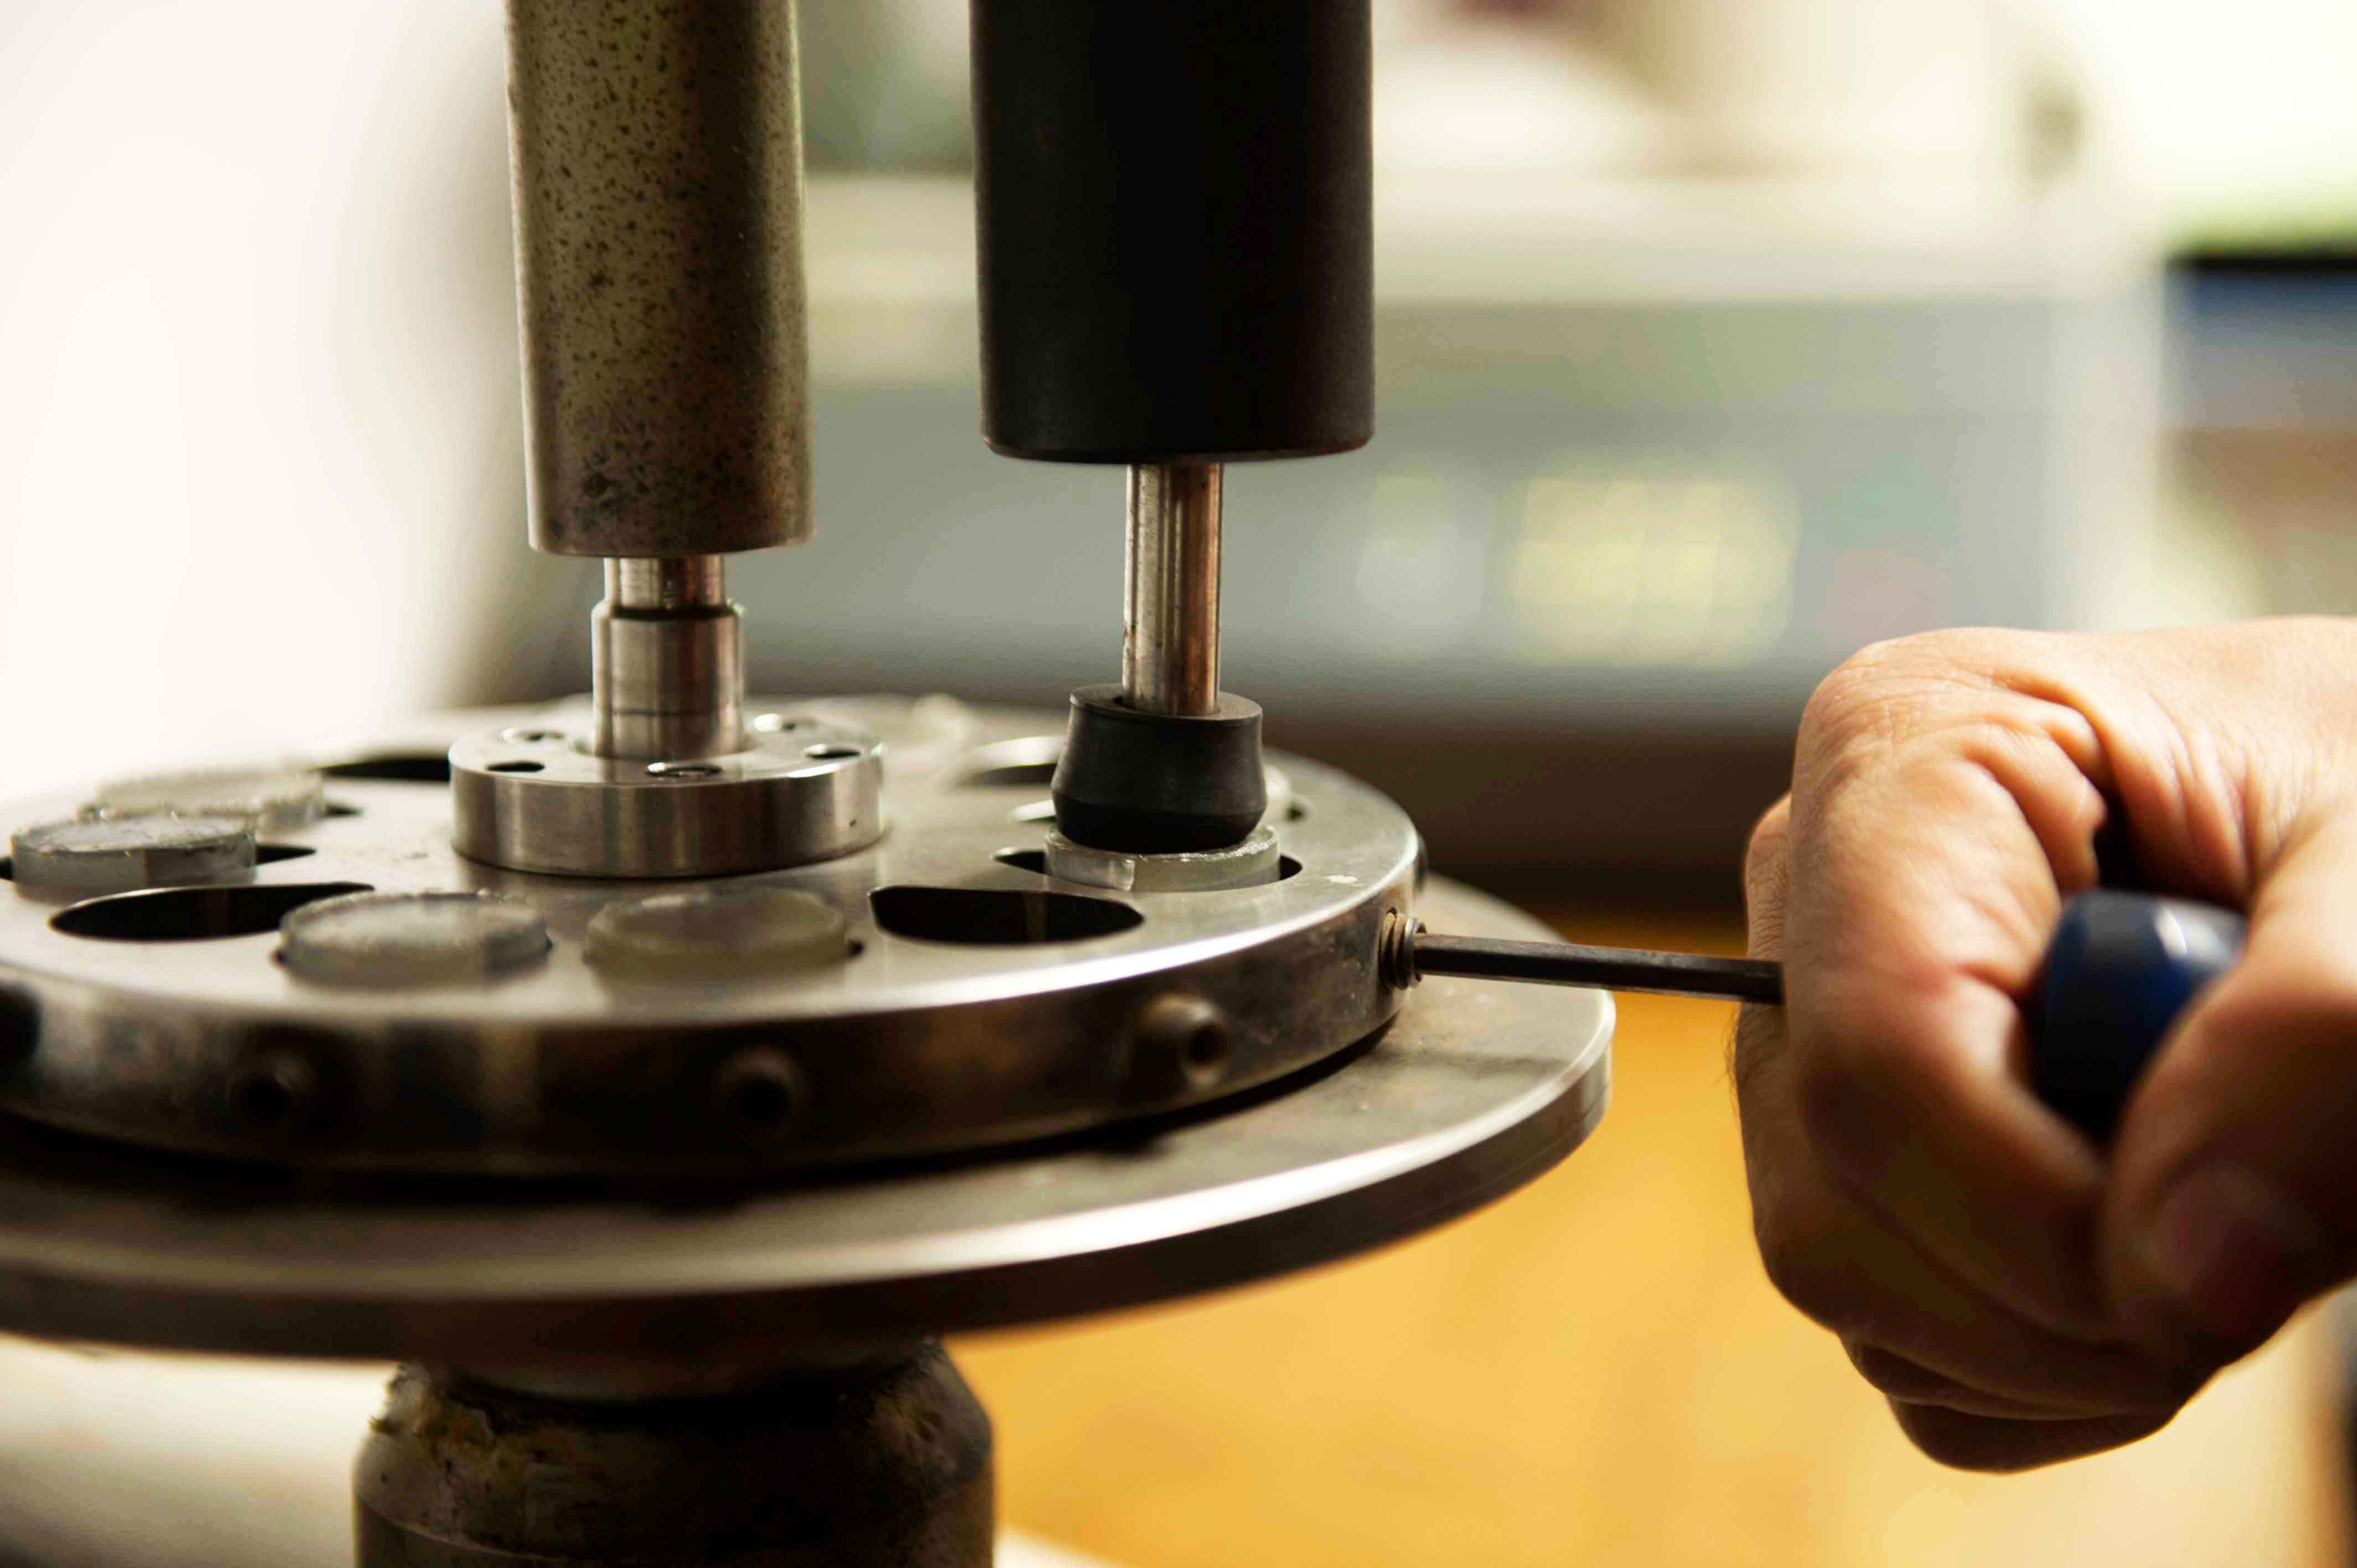
In addition to these two fundamental tests, certain types of grey cast iron are also tested to determine their hardness in relation to the material thickness. Typically, hardness testing is done according to Brinell, who determined hardness as the mechanical resistance of a material to penetration by an indenting tool (see DIN EN ISO 6506).
During the Brinell hardness test, a hard metal ball is pressed into the surface of the test object with a defined test force F to create an indentation; the size of the indentation can then be used to calculate the material’s hardness. The testing balls can have diameters of 10 mm, 5 mm, 2.5 mm, or 1 mm; particularly when dealing with cast irons, it is advisable to use indenter.
Regardless of which type of cast iron is used, in whichever of the various sectors or for which of the wildly diverse array of products we offer for them, material testing and certification is carried out at the desire of our customers and can be material-based (2.I certificates), batch-based (3.I certificates), and if desired even confirmed by independent third-party certification bodies (3.II certificates) and the results documented in writing.