Metallography
Single-crystal perfection
Metallography is a field with the goal of making the physical (microscopic) structure of metallic materials visible in order to obtain information about the material or the part. As a rule, the field is divided into macroscopic (visible with the naked eye), (light-)microscopic and electron-microscopic examinations, all of which play a role in standard metallography. Each of these procedures requires specific methods of sample preparation (grinding, cleaning, etching, polishing, and [if necessary] mounting).

Three procedures of making the physical structure of metallic materials visible

Macroscopic
Macroscopic examination with magnification levels from 1:10 to 1:60 is used to identify larger imperfections such as sinkholes, cracks, precipitates, and pores. For foundries such as ours, however, such defects can be identified with a simple optical examination of either the surface or of the appropriate cross-section; they are also identified during most types of non-destructive material tests.
(Light-)Microscopic And Electron-Microscopic
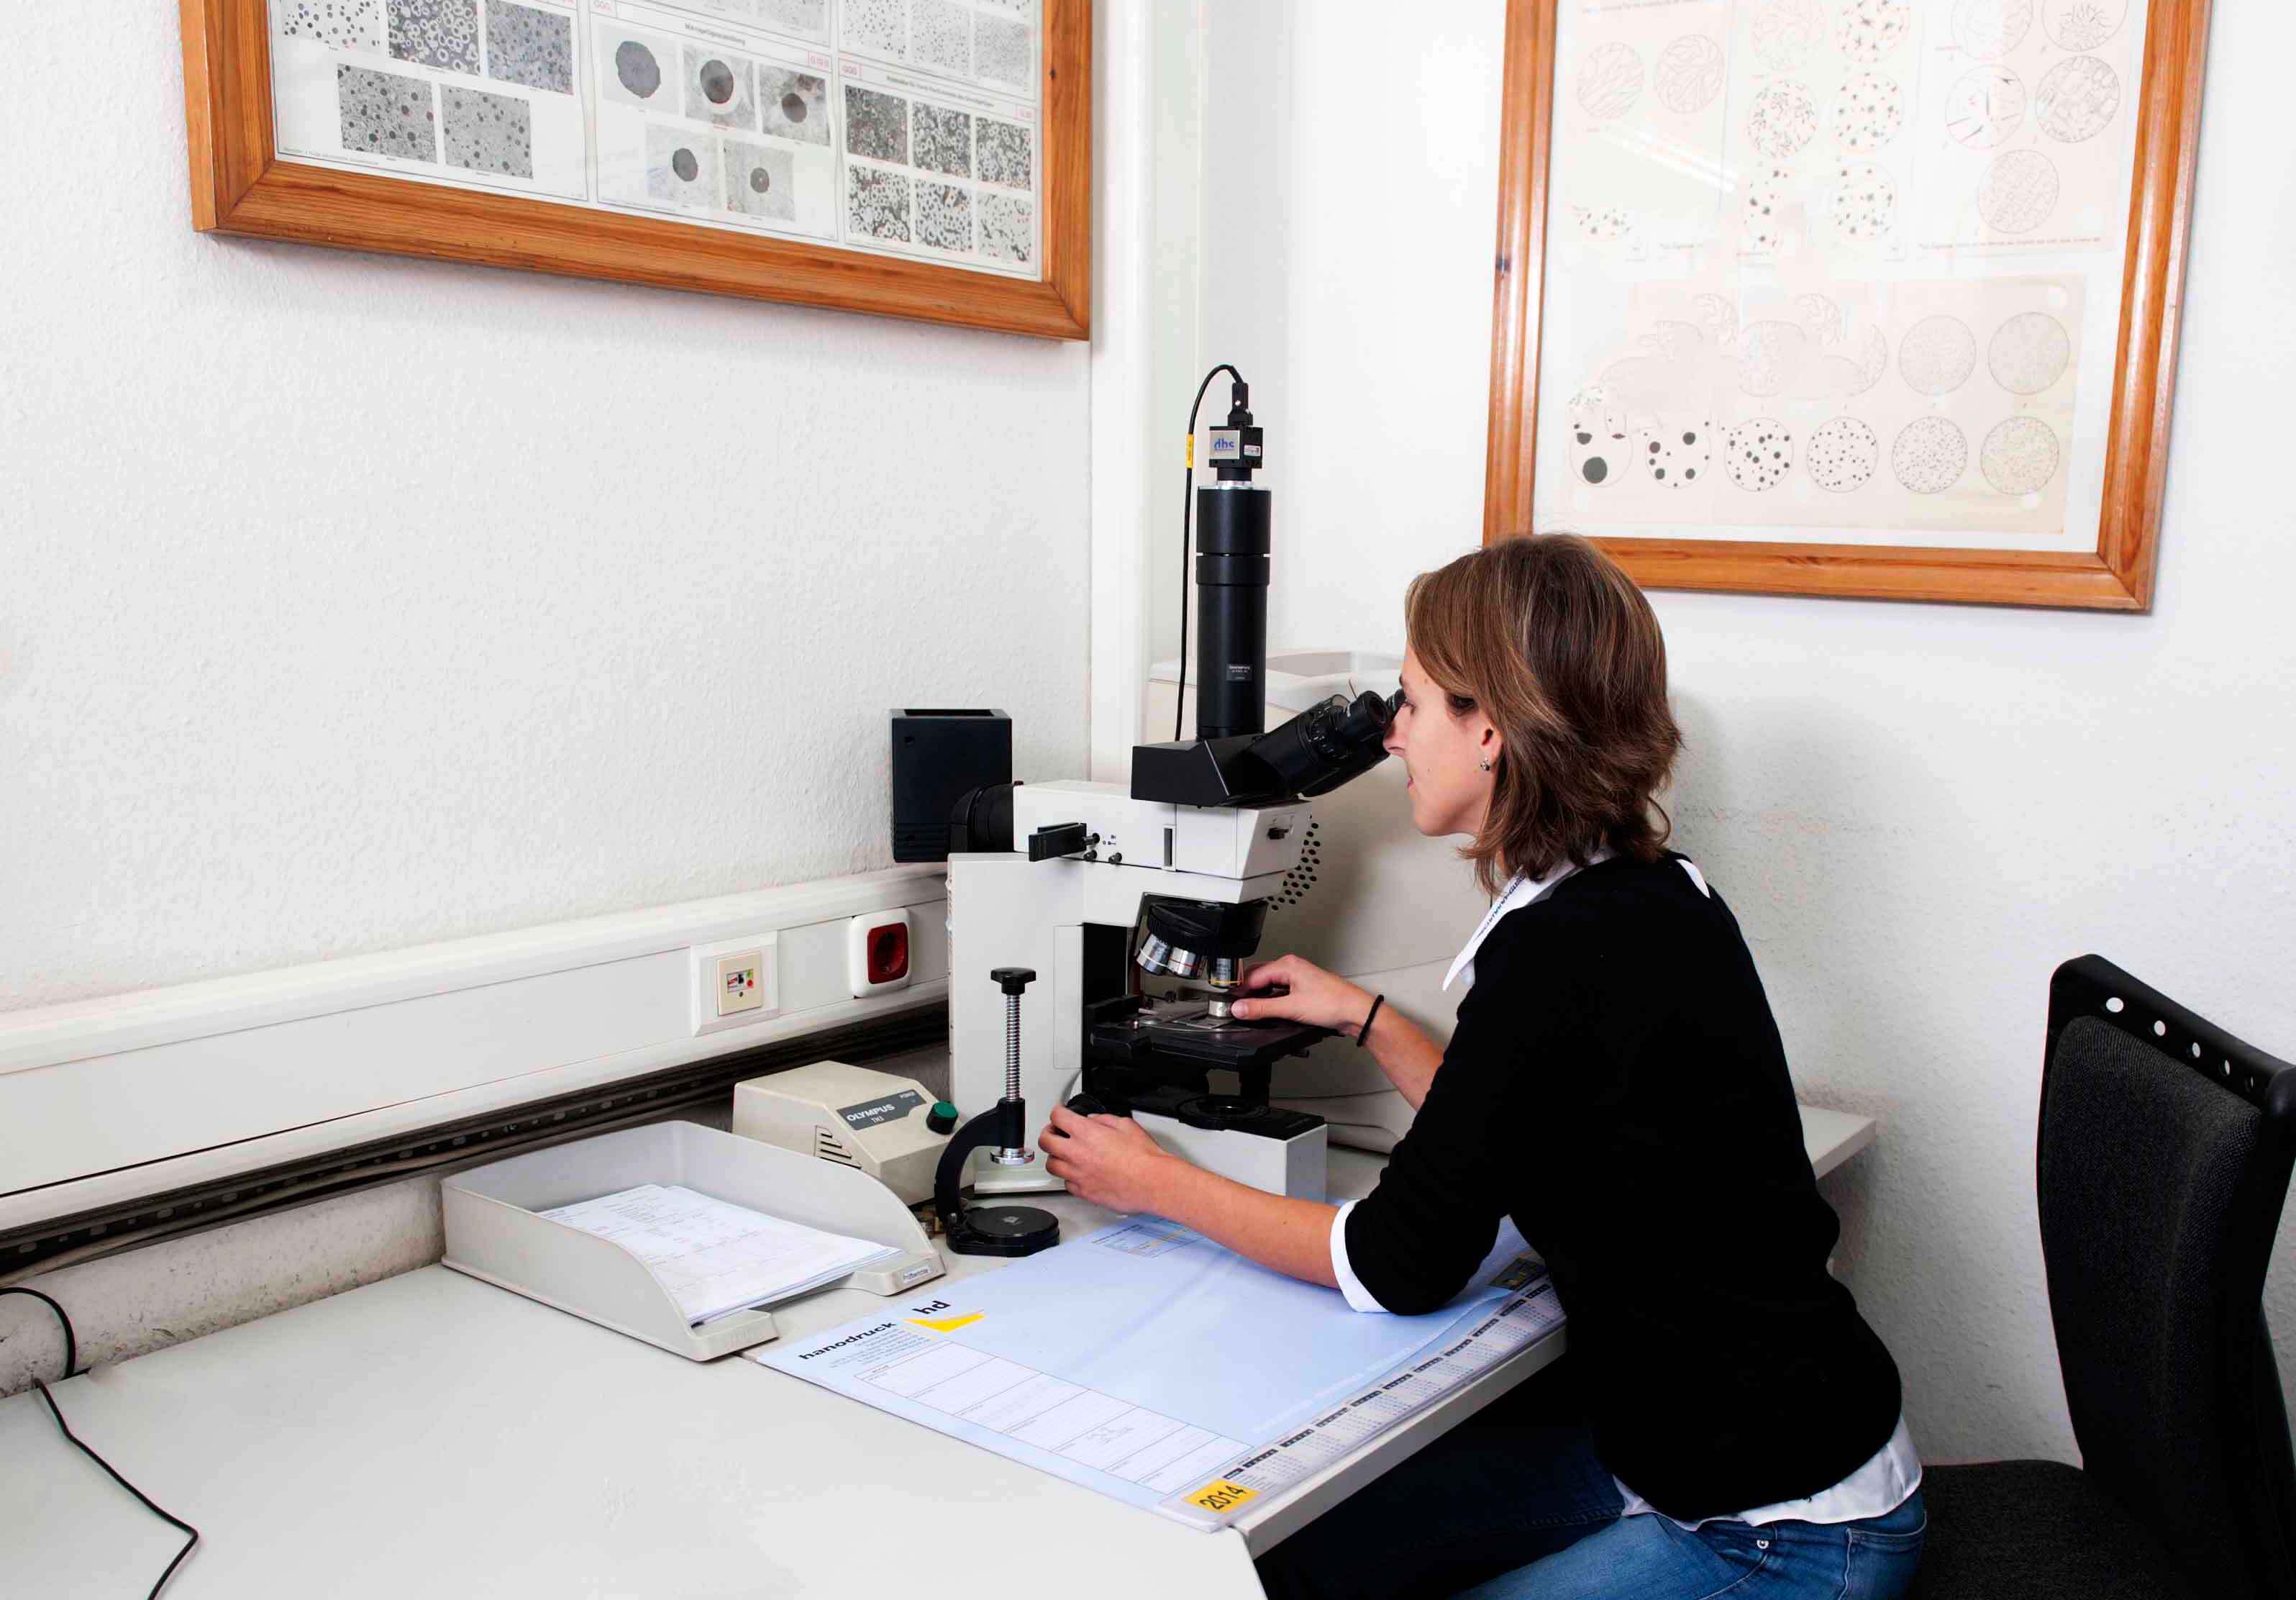
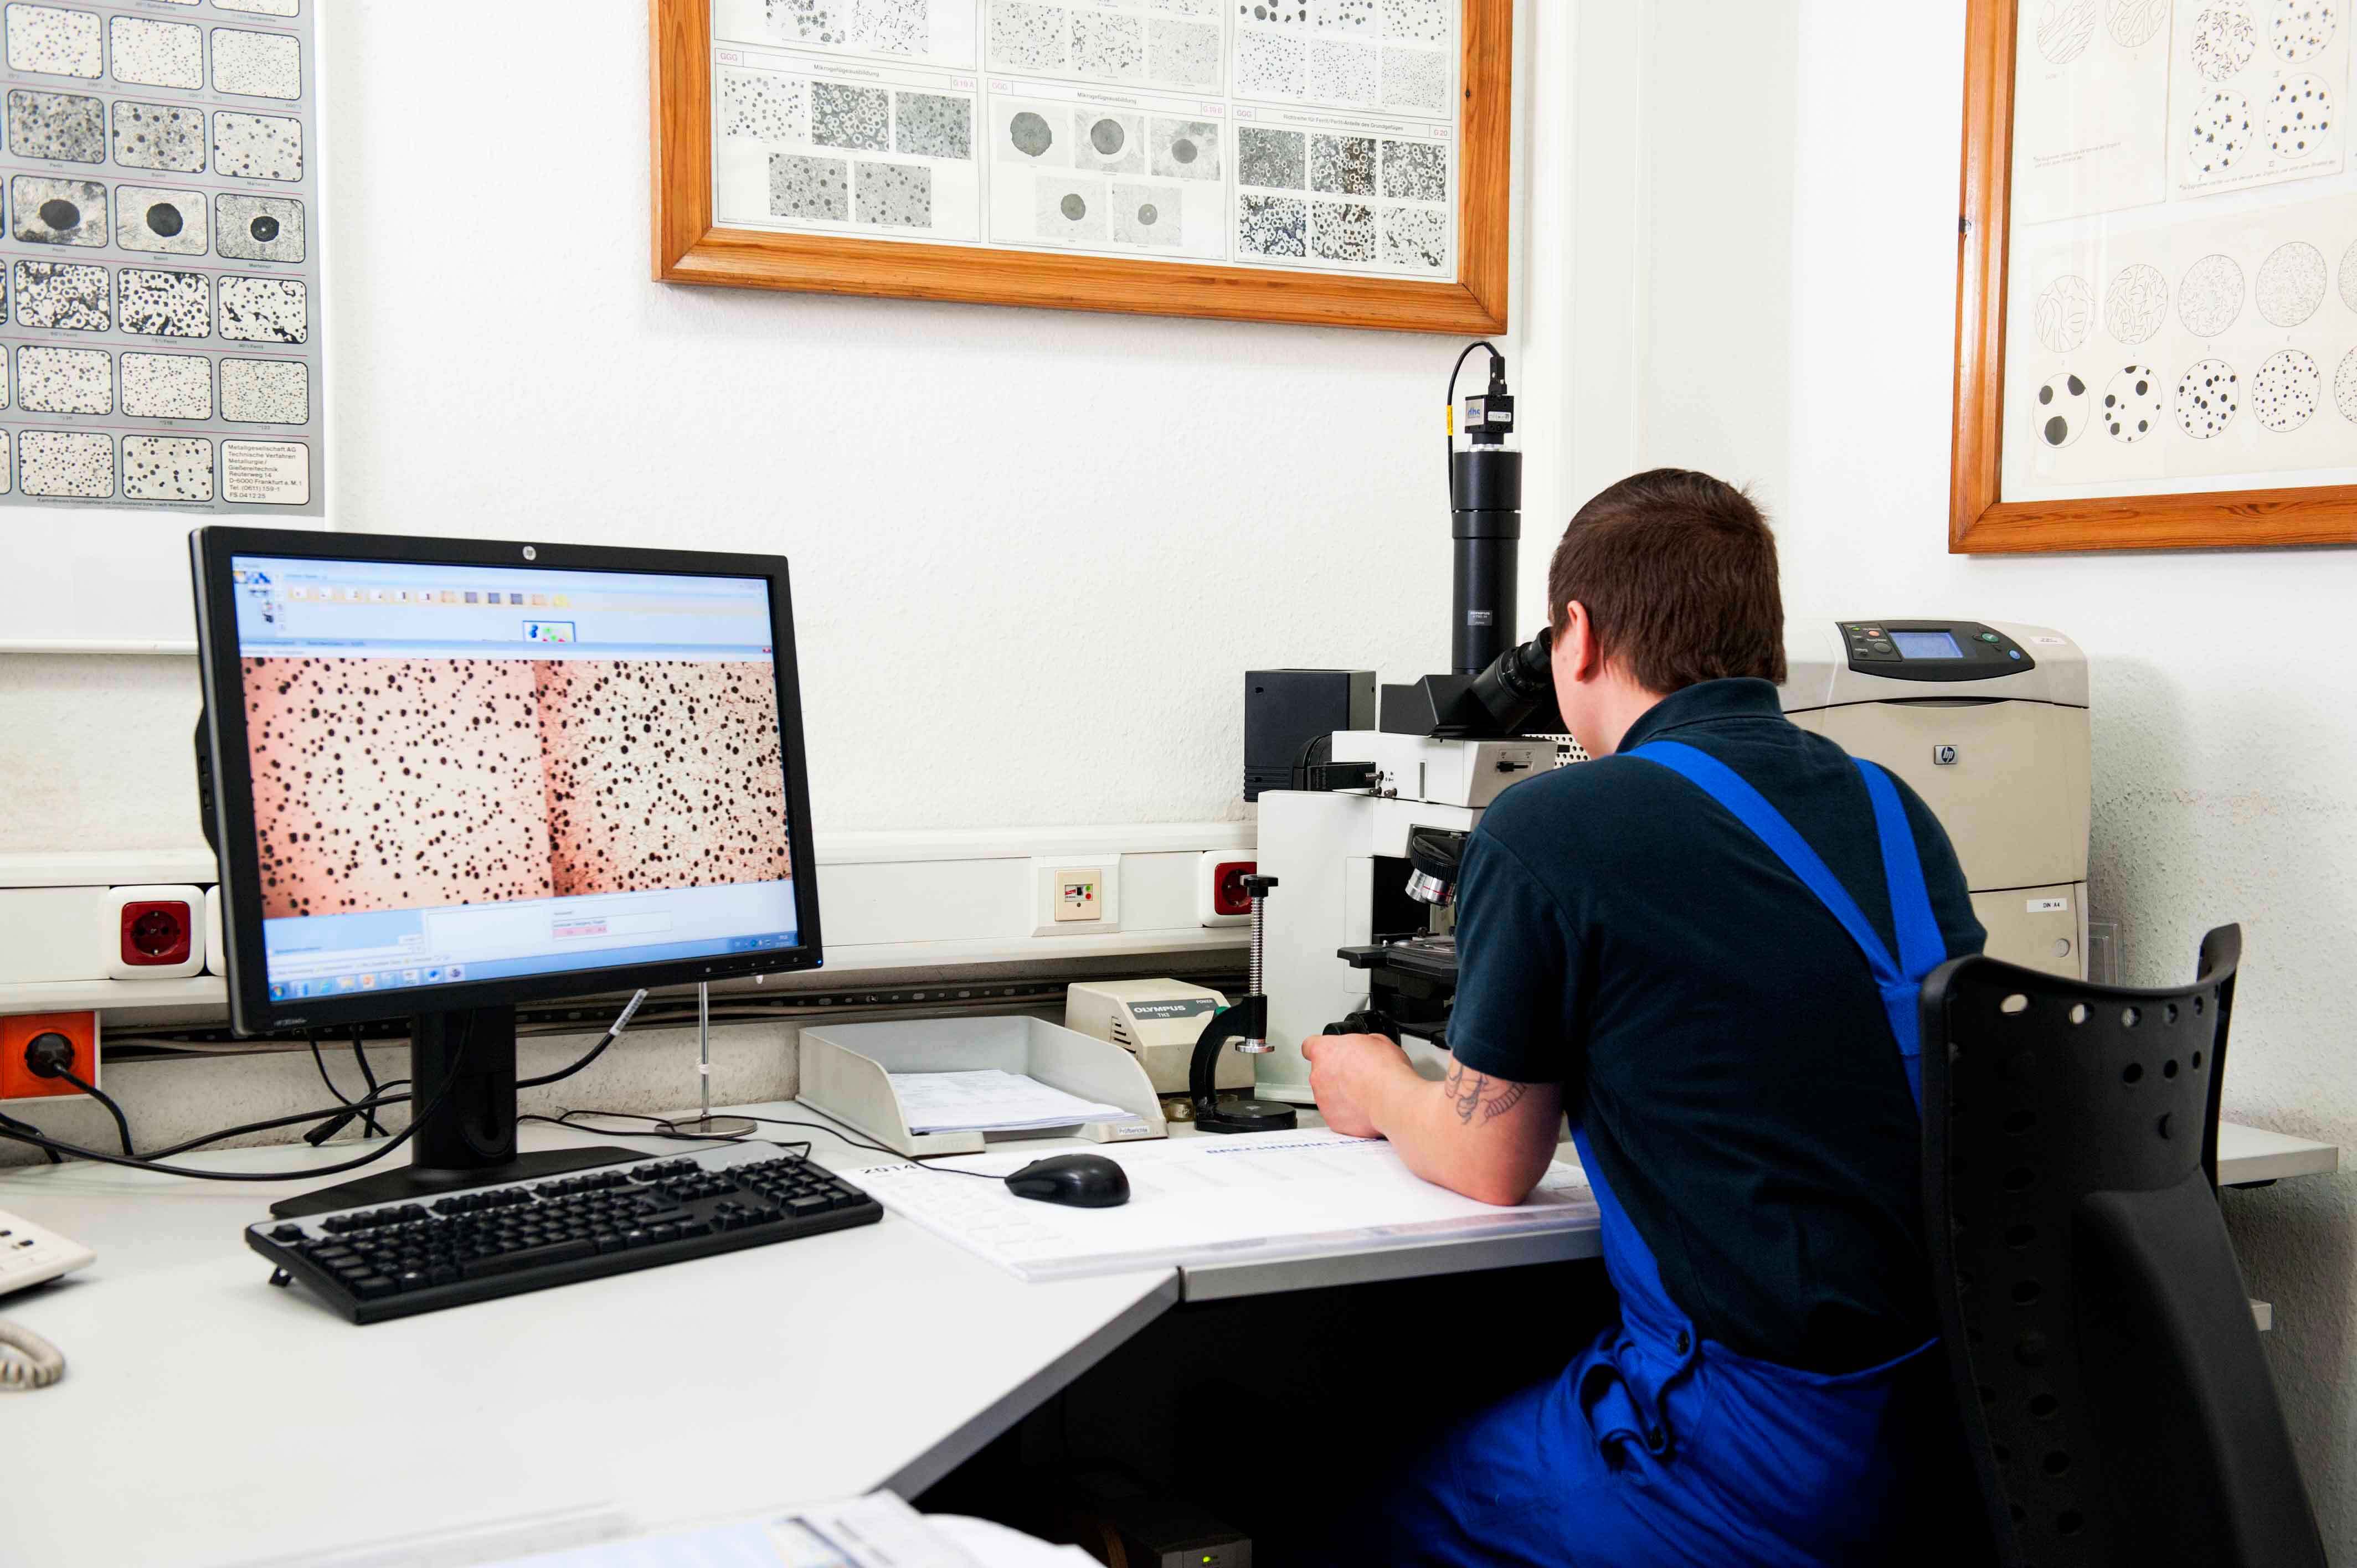
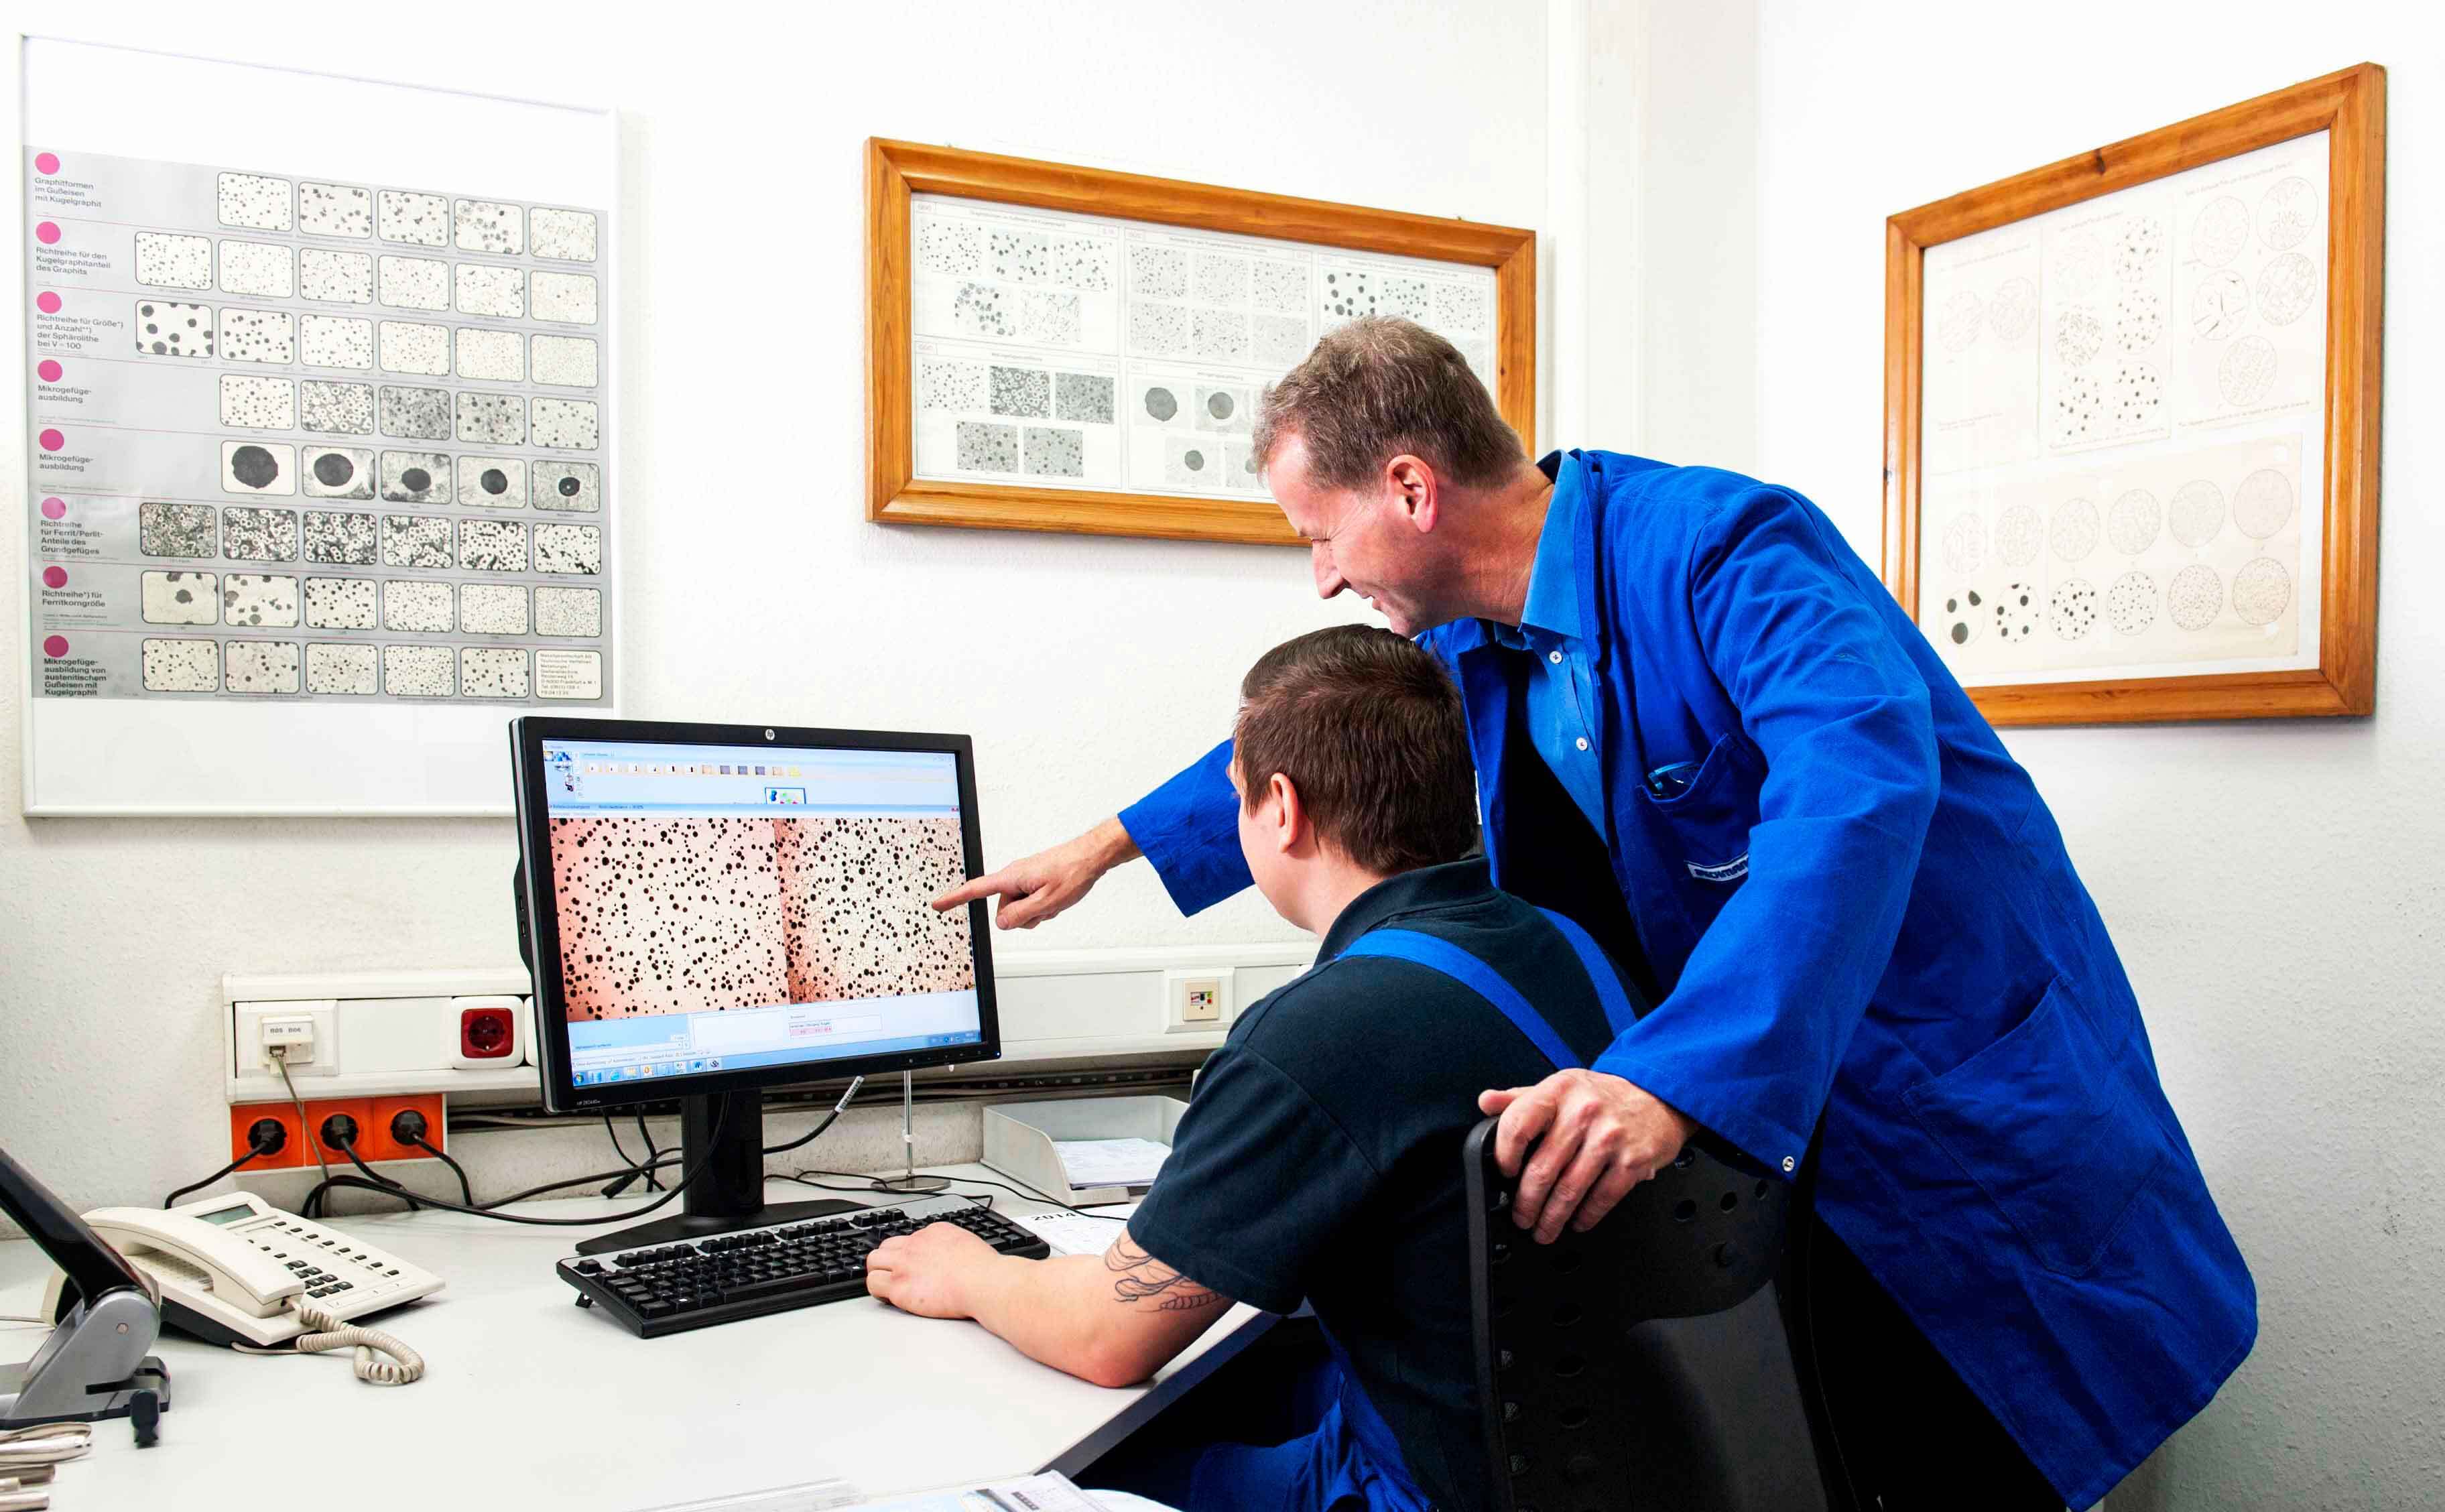
Metallography uses microscopy (max. magnification of 1:1000) to obtain information about the material’s crystallographic structure (crystal/grain organization), the material’s elongation and crystal distribution, and its orientation and overall structure. At Brechmann-Guss, in addition to general comparison of materials, we pay particular attention to the type of graphite which forms (lamellar/flake or spheroidal), as this is the defining feature of either cast iron with flake graphite (grey cast iron) or with nodular graphite (SG cast iron). For SG cast iron, information about the size and even distribution of the graphite nodules is also important; the type and shape of certain precipitates may be critical as well. These nature of these factors can be determined and evaluated based on prepared micrographs, in order to decide whether the given production lot can be released for the customer or whether the batch should be blocked until each part can be tested individually (a result which, of course, we are less happy about).


Electron Microscopy
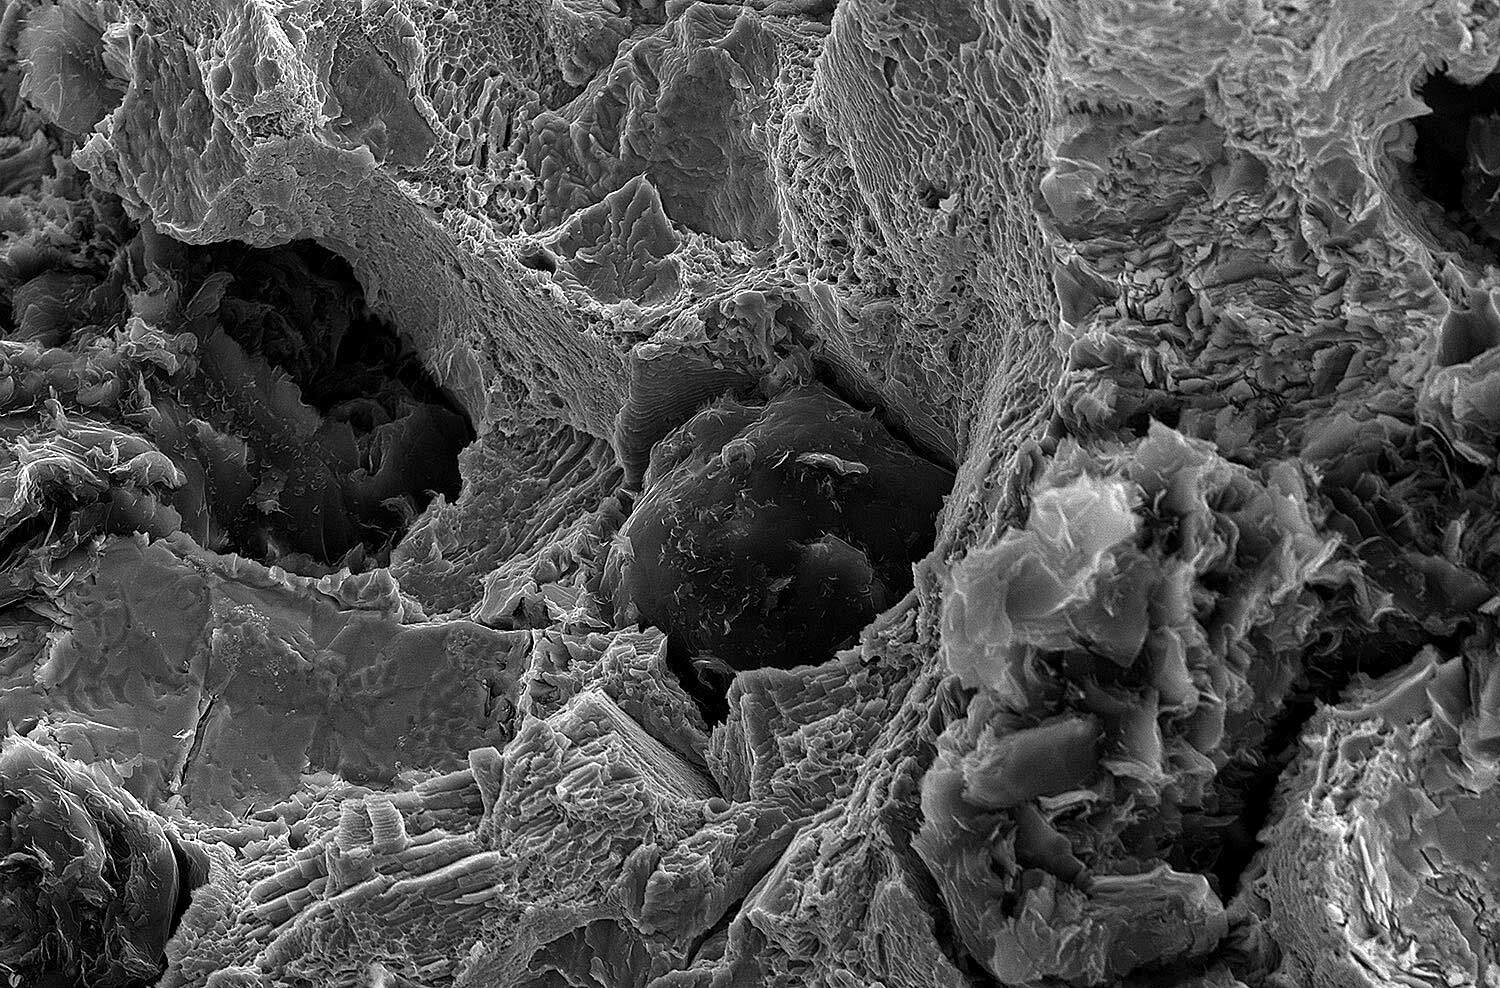
Electron microscopy (scale 1:100,000) is used to create images of very fine details of the metallic structure, such as precipitations, crystal dislocations, and stacking faults. The most detailed pictures with the highest resolution available today are obtained using transmission electron microscopy. For TEM, specimen thickness must be reduced to between 10 and 100 nanometers; at this level (scale 1:109-12), individual columns of atoms are visible, allowing each deviation from single-crystal perfection to be identified and documented.
The conclusion of this hierarchy of detail and exactness is that structural defects or imperfections in industrially produced cast iron can always be identified. Any company that provides technical drawings with the note “Tested Casting Blank Flawless” or similar, without also providing information about the test type and maximum allowable size and form of such imperfections (which, unfortunately, is not uncommon among those who are new to the foundry branch), is exhibiting significant practical deficits – or, at the very least, a worrying inattention to critical details. Anyone who looks closely enough will discover that there is always something to be found. The Scandinavian auto industry deserves particular praise in this context for their extremely detailed factory standards. These standards allow partial component areas or configurations to be evaluated for load-specific conditions, based on pre-defined criteria; they even define surface layer degeneration or defects at varying depths depending on the position of the affected section during casting.
Regardless: whether grey or SG cast iron, SiMo, ADI, or Ni-Resist – metallography is still just one weapon in our quality assurance arsenal. Our goal is not necessarily to check the quality of our parts “after the fact” but rather, by meeting a wide range of quality assurance metrics with a variety of methods, to ensure our quality of production throughout the entire chain of production: from process monitoring of each series with spectral analysis, to the continual verification of mechanical property values, all the way to post-production non-destructive component testing. With this directed process management, we aim to produce useable parts that meet all necessary requirements right from the start.