Penetrant Testing
Simply practical…
is the best description of the dye penetrant inspection, also known as Penetrant Testing (PT) according to the German standards DIN EN ISO 3452 (2014) and DIN EN 1371-1 (2012-02).
Like the magnetic particle test, this inspection identifies surface cracks and imperfections; it has the advantage over the magnetic particle test, however, that is can be used for non-magnetic materials as well (such as austenitic cast iron). PT is suitable for locating surface or near-surface cracks and imperfections with the naked eye; this tried-and-true procedure is also comparatively easy to carry out and can be used to identify even tiny cracks or surface pitting.


Special fluid with low-viscosity
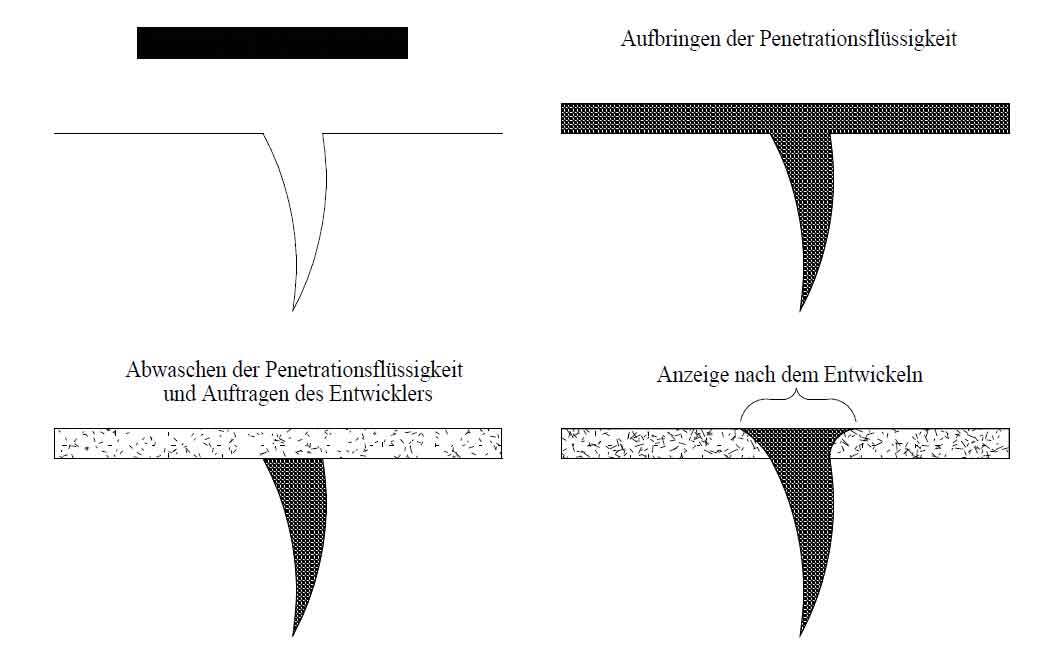
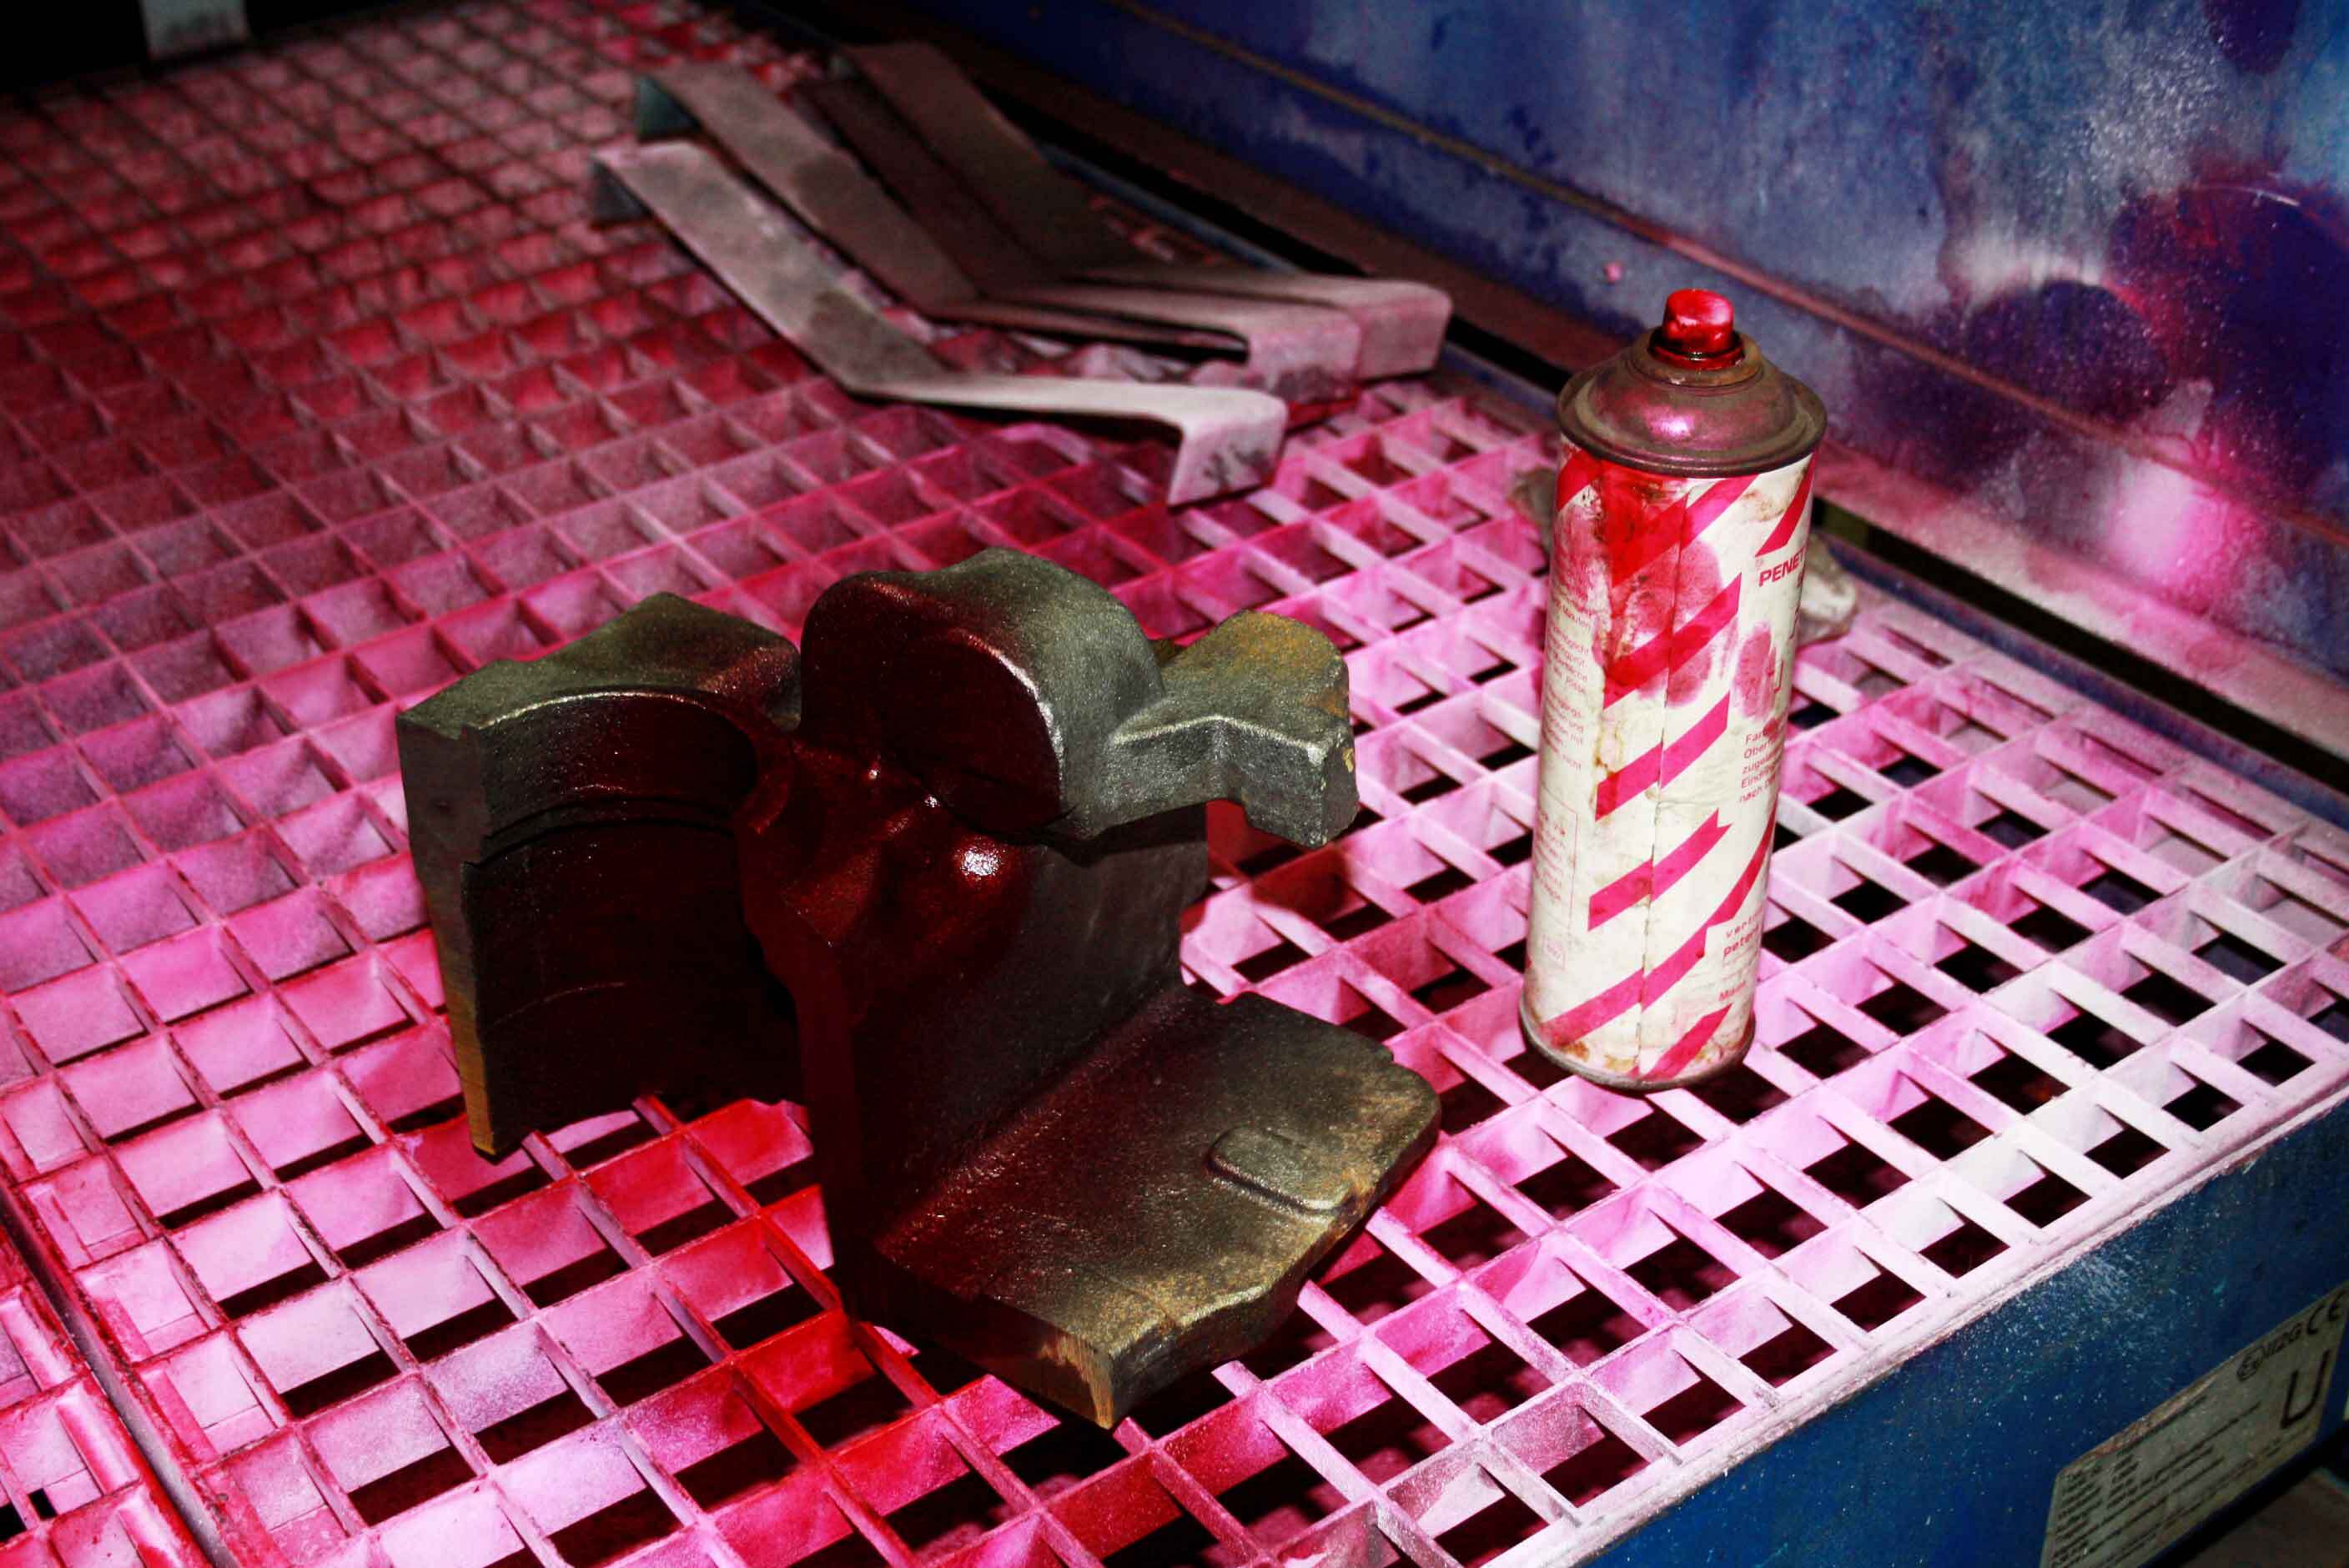
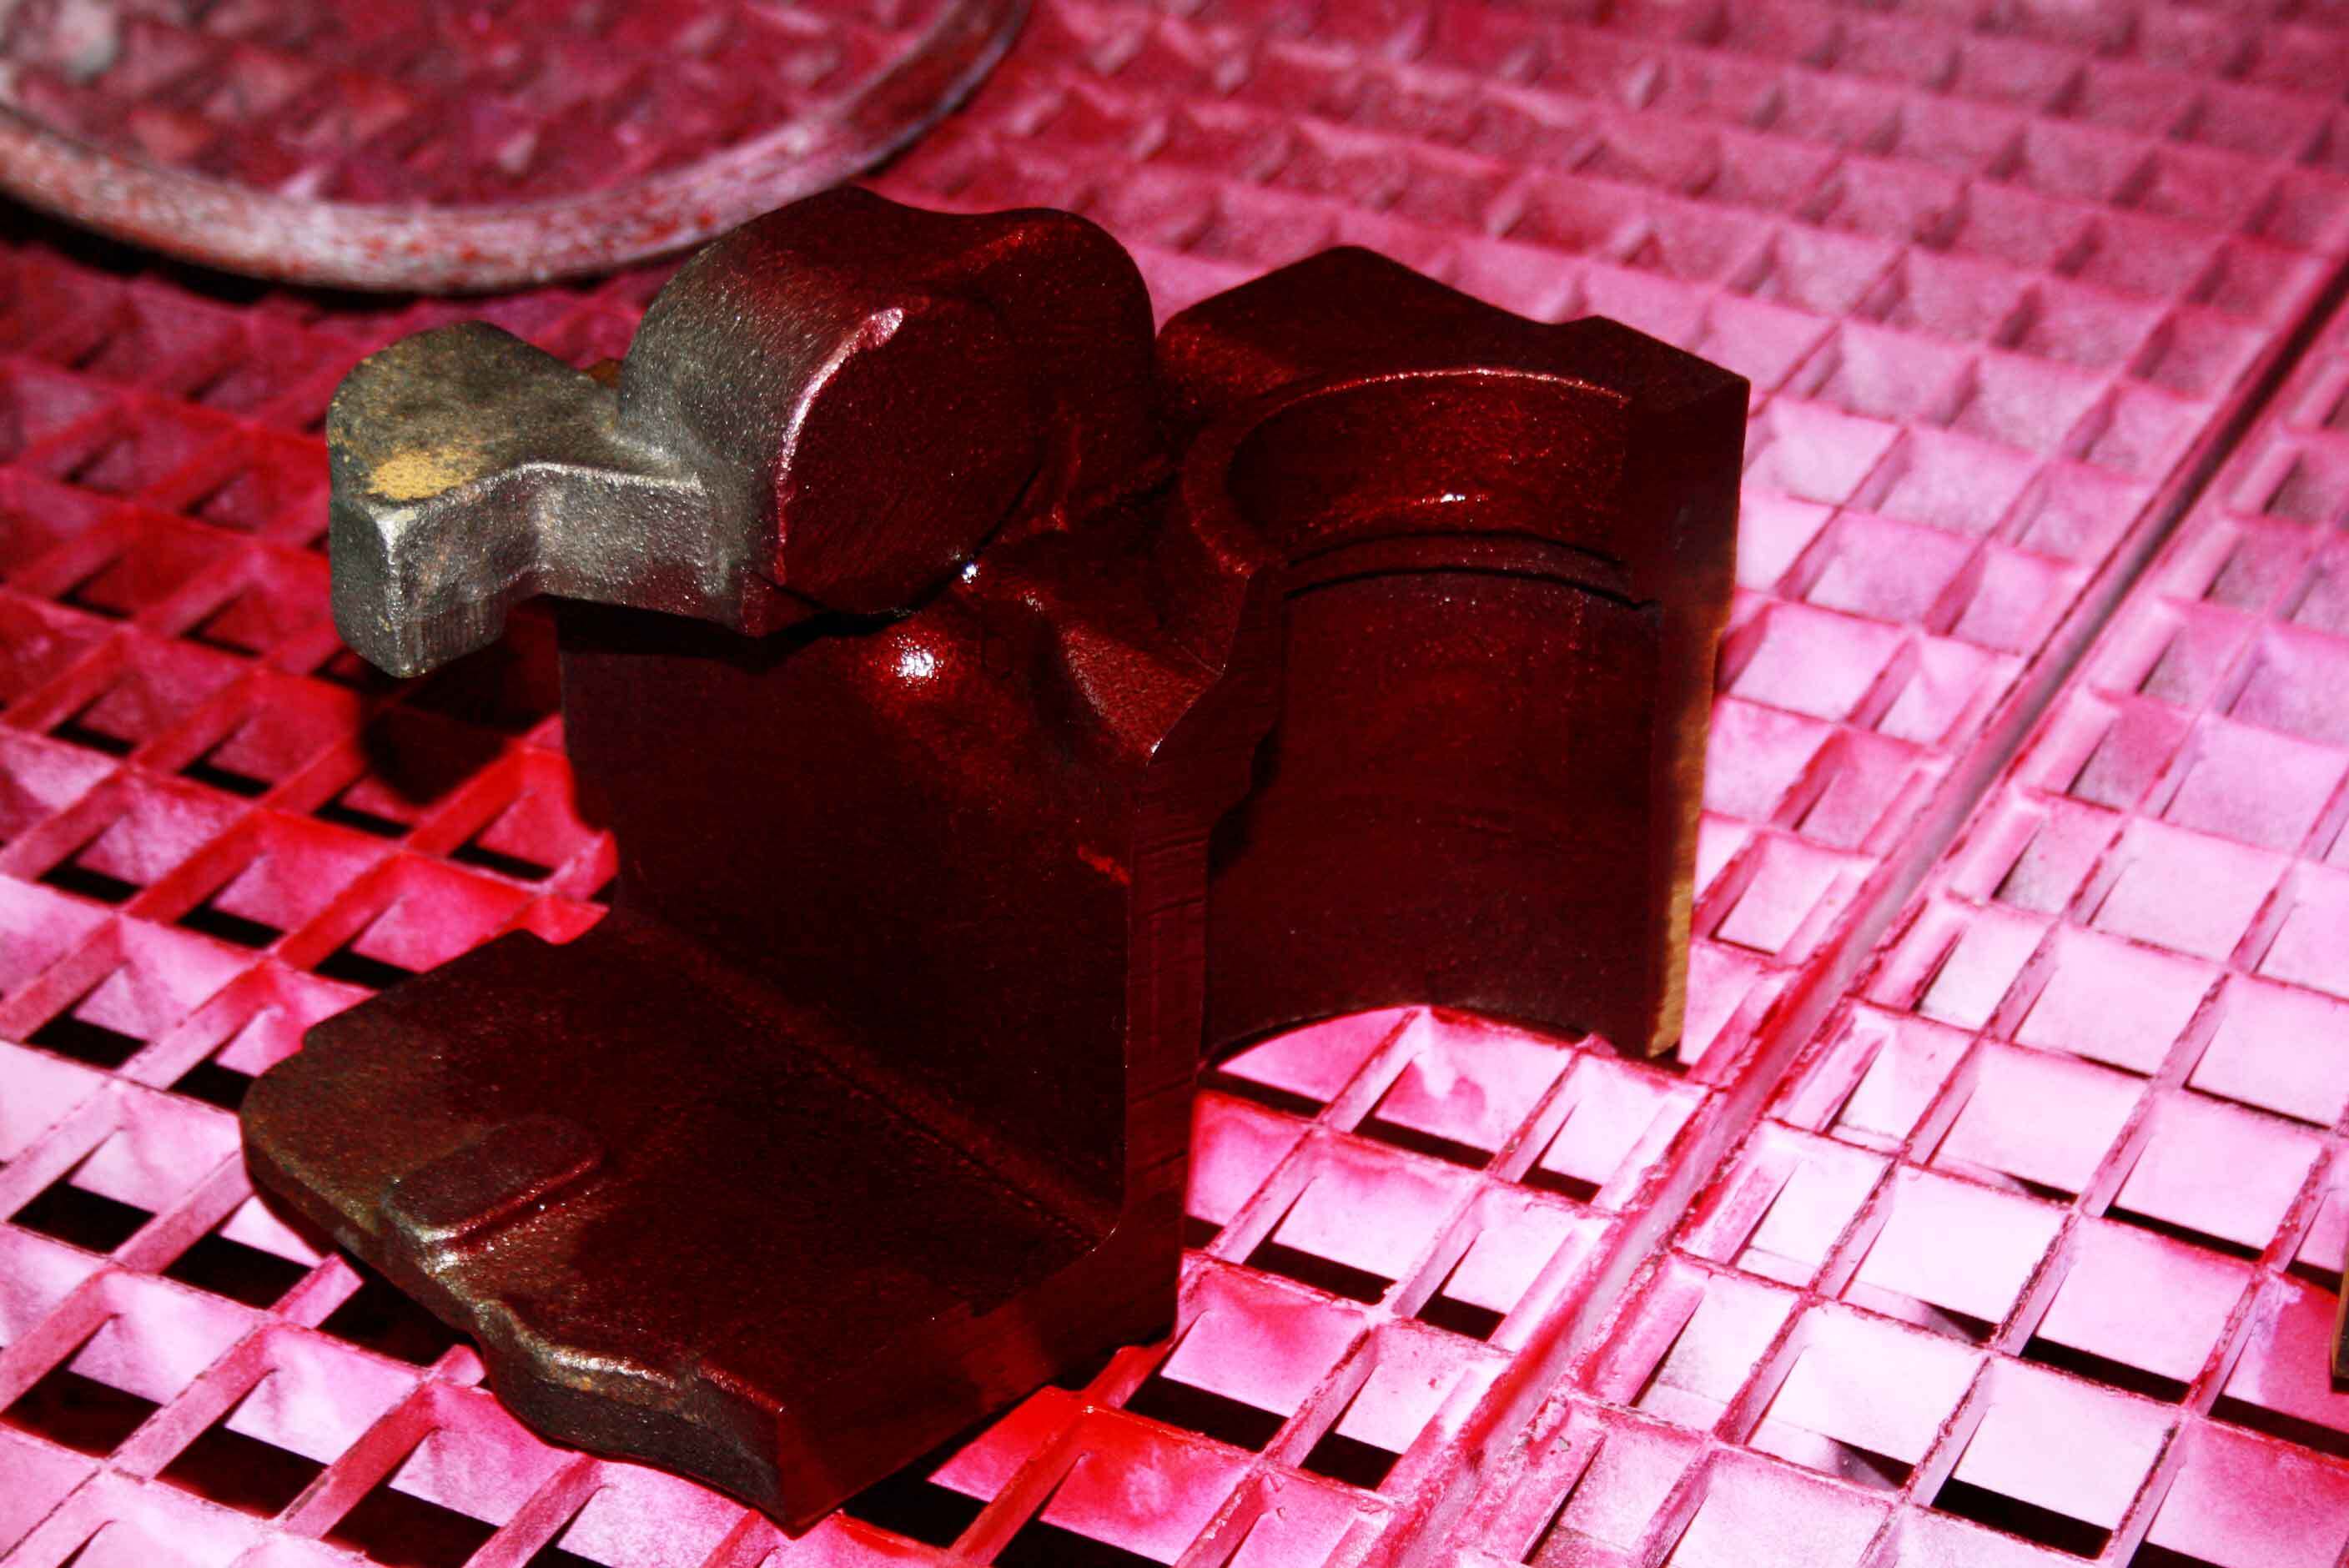
After the surface of the test object has been carefully cleaned, a low-viscosity penetrant is applied. Capillary action leads to the penetrant being pulled into any irregularities in the surface, after which the remaining penetrant is removed from the part – leaving the dye behind which has penetrated into cracks or holes. A developer fluid is then applied to the surface (in some cases, powder may be used instead); a chemical reaction between the penetrant and the developer results in coloured areas anywhere on the part surface where there is a defect of some kind. Certain types of developers contain an agent which produces a fluorescent effect under UV-light, making identification of defects even easier.
Dye Penetrant Investigation is not suitable for identifying deeper cracks; the dye may penetrate so deeply into the part that it does not reach the surface again even after application of the developer.
For complex geometrical forms
Special testing equipment is not necessary for PT. This means that the test can be performed anywhere and (as a result of the fairly low degree of effort involved) relatively inexpensively. In contrast to other testing methods, the shape of the test object is of no great concern; hence, even complex geometrical forms can be tested with this procedure. In addition, there are no particular additional safety measures necessary, as is the case for x-ray (radiation) testing, and the test does not require extensive qualifications on the part of the tester to be done properly. For large lot sizes, the testing procedure can even be automated.

However, these cost-related concerns are less important than the reliability of the test itself. It doesn’t matter which sector orders their safety-critical components from us – be they ball hitches made of SG cast iron with increased strain, or railway components made of ADI ausferritic cast iron. Regardless of where the request comes from, or where the parts are going to, our goal and our motto is the same: Quality is our benchmark – and the bar is high!