Ultrasonic Testing
Getting glasses to sing…
isn’t quite our goal, but the science behind that little trick is the same that we use in testing. A good homemaker knows that flicking a fingernail against a wineglass is a simple way to test whether the glass is undamaged. Several types of damage to or imperfections in forged parts and castings can be found using the same method – with a hammer and slightly different musical notes, of course. In both cases, the technique is based on the physical spread of mechanical vibration (sound waves) throughout a medium.
Invisible and typically hidden imperfections can be found non-destructively using ultrasound in any material which is capable of transmitting sound waves. The standardized testing protocols for our cast-iron products is given in the German DIN EN 12680-3 (2012-03) standard, which defines the ultrasonic testing procedures for both testing during production, as well as testing of already mounted components.


Ultrasounic Waves
Ultrasounic waves are defined as those with a frequency greater than what is perceptible to the human ear; practically, this means a frequency above 20,000 Hz (20 kHz). The typical frequency range for testing procedures is between 0.5 MHz and 10 MHz, placing it significantly above the auditory threshold. When the wave hits the boundary between two different transmitting media, part of it is transmitted and part is reflected. The relative proportion of these two fractions depends on the differences between the two media (such as density and material-specific speed of sound). When going from steel to air, for example, the differences are so great that nearly 100% of the wave is reflected – hence the need for a strategy to ensure that waves are properly transmitted from the transducer into the test object.
Above the auditory threshold
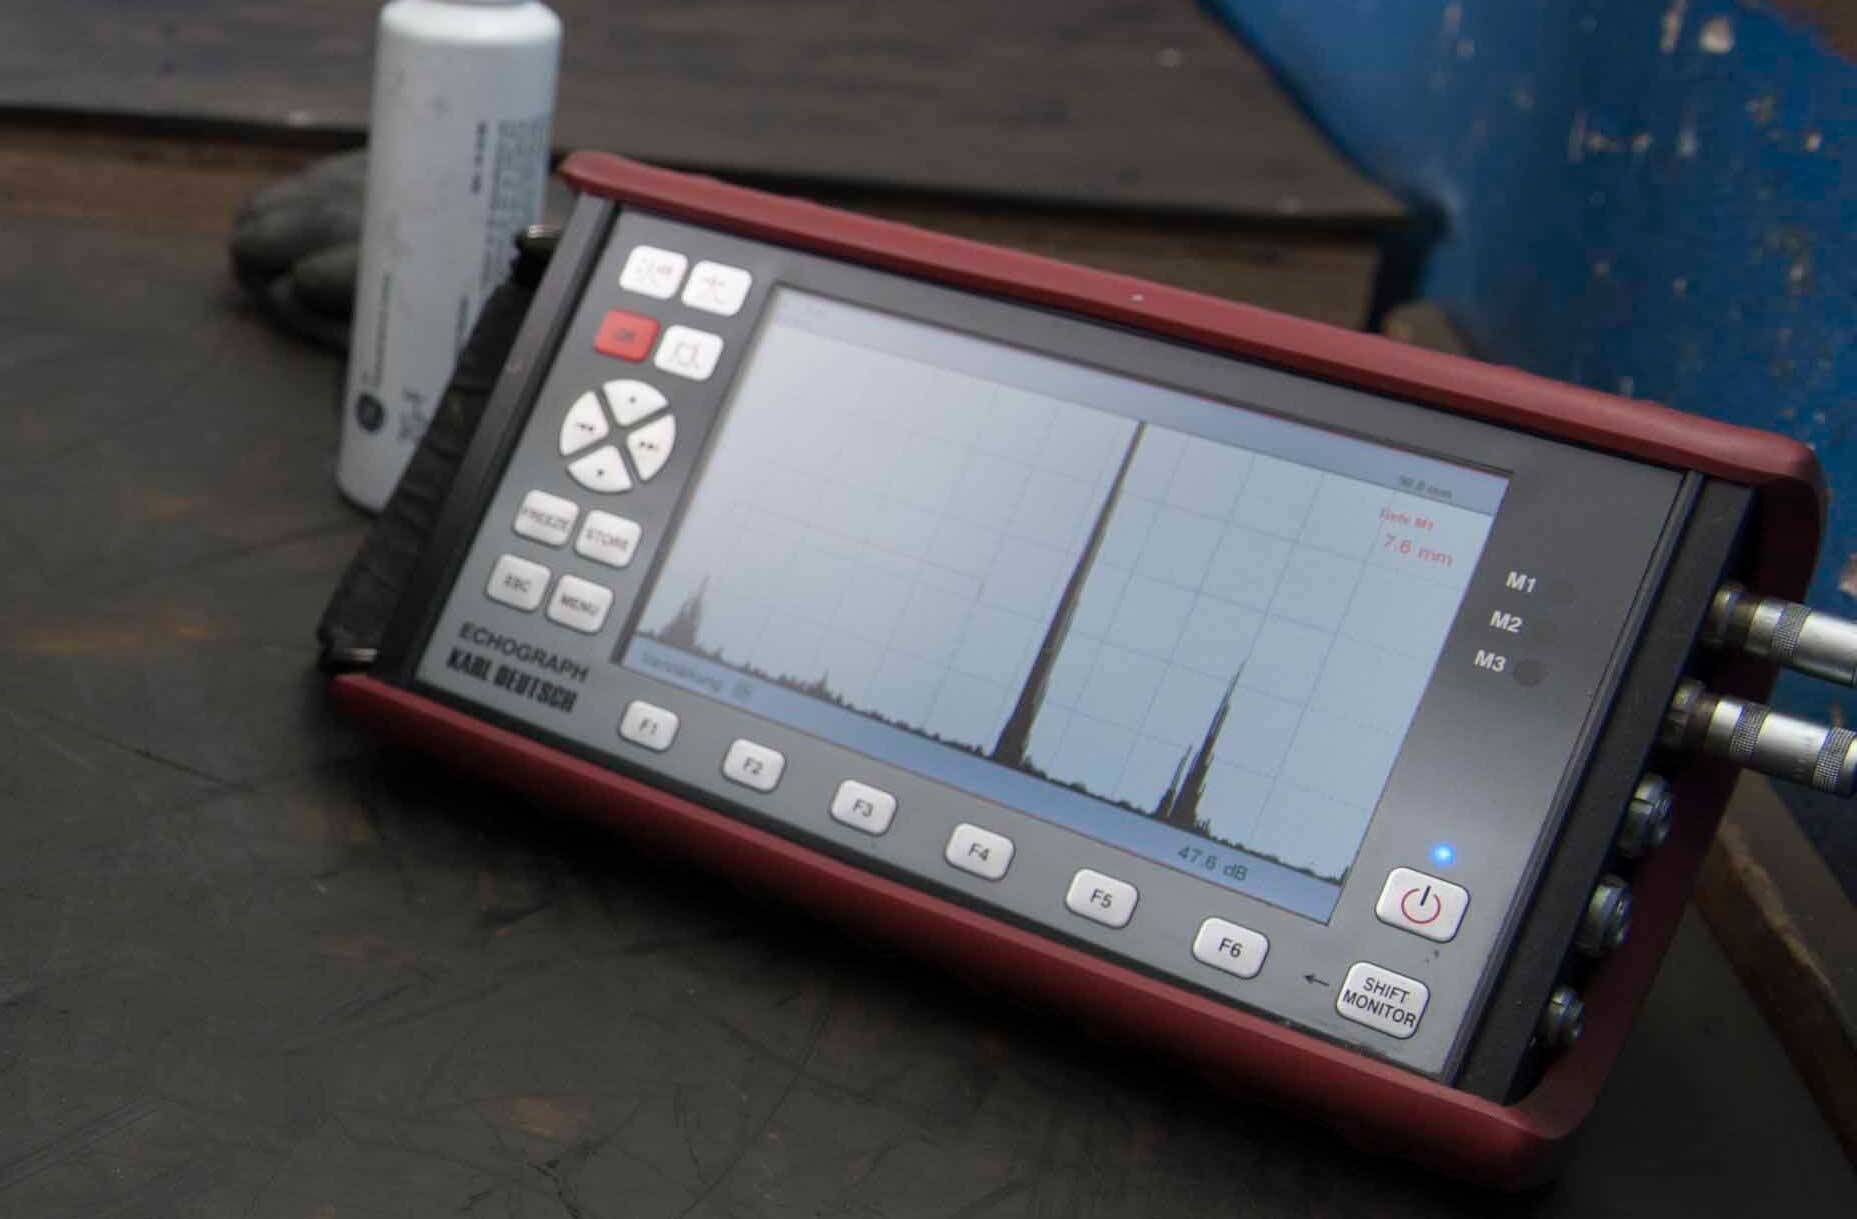
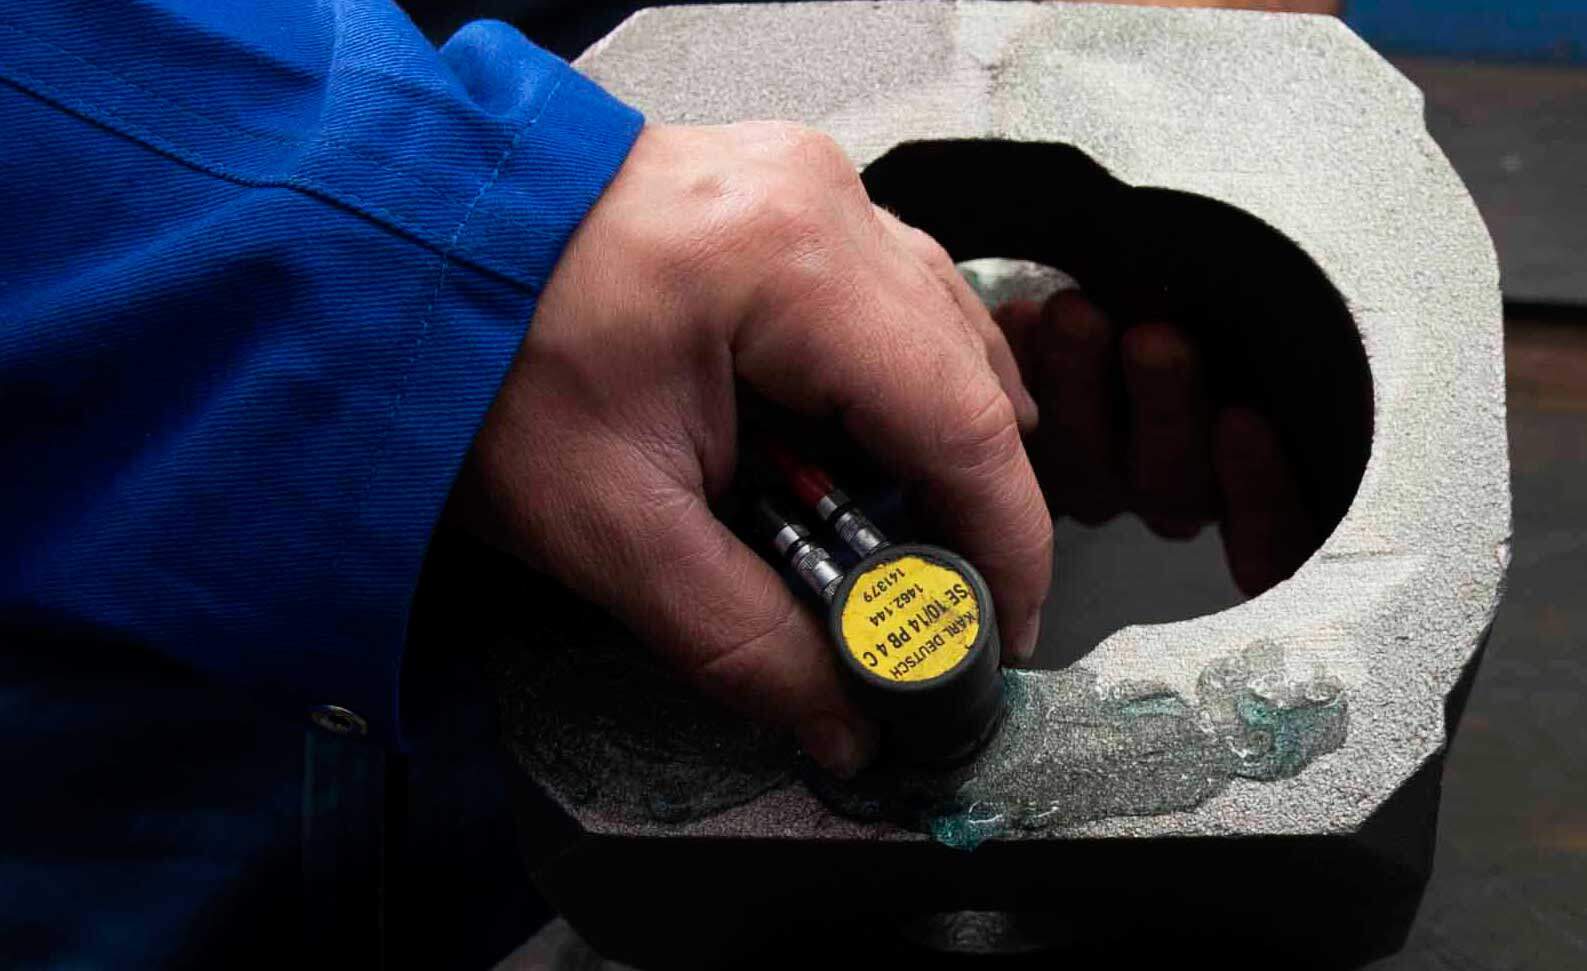
In the lab, a coupling medium (such as adhesive, gel, water, or oil) is first applied to the surface of the material; this will ensure that the waves are transmitted from the transducer to the test object. A moveable testing probe is then moved across the surface of the object. Imperfections in castings most frequently include gaps, pores, cracks, or other kinds of air inclusions; these then reflect the ultrasonic waves and are bounced back to the test probe, indicating the presence of a disturbance. (In many cases, the sender and receiver units are both integrated directly into the probe, although devices with separate sender and receiver components are possible.) It is also possible for a significant part of the signal to be lost; this can have several causes, but can also be an indication for testing errors.


The amount of time between sending and receiving of the ultrasound signal allows the system to calculate the distance between a boundary surface (either an imperfection in the material or the wall of the part) and the probe. For steel materials (with very low carbon content), this allows the location of imperfections within the part to be determined in terms of both length and breadth. For SG cast iron, however, this is considerably more difficult, as the nodules (spheres) of graphite within the material also represent boundary surfaces; this means that the signal is disturbed and diffracted at these points as well. This method can effectively only be used for nodular cast iron between two parallel surfaces, and the results here generally offer only a rough location for imperfections, with only limited informational value. “There’s something there”… but what that sometime is must be determined by, for example, cutting the part in half (or another more decisive method).
Non-destructive testing using ultrasound is, therefore, just one tool among many in our kit; we can select the proper test for each investigation depending on its aim. This could be taken as an analogy for the materials produced at Brechmann-Guss as well: Whether for use in drivetrain technology, engines, or machines needed in a variety of sectors – with all of the choices we offer, including grey cast iron, ADI, SG cast iron, and Ni-Resist, a suitable solution is available for any problem. And always with our goal in view: Quality is our benchmark – and the bar is high!